I should have started this thread before I started the swap, but I guess I can start it down since I havent really gotten too far.
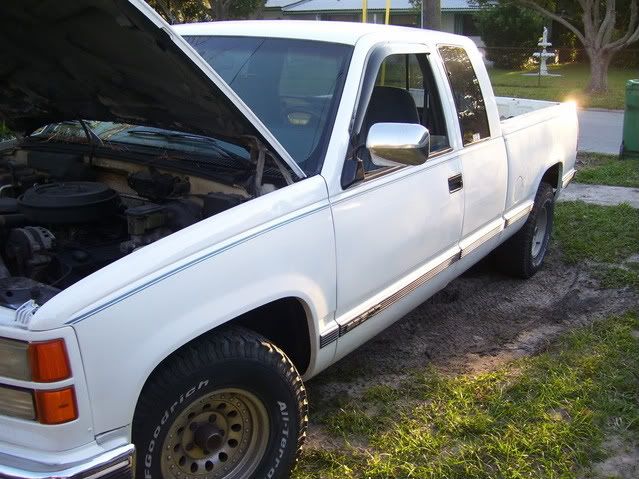
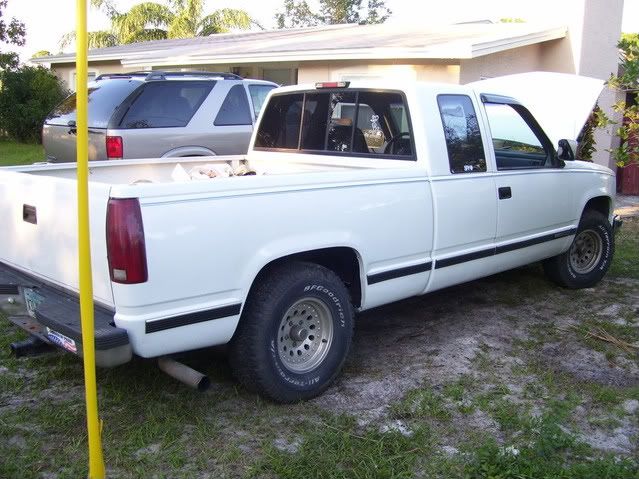
The truck is a 1994 GMC 1500 ext cab, the odometer says ~250k, but the truck itself is pretty straight, and most importantly NO RUST.
I originally pulled the 5.0/4L60E out and put my 360ci/4L60 combo in so I could use the truck, but that didnt last long as that Holley 750 didnt make for very good gas mileage.
I drove to tampa one weekend to pull the 5.3/4l60e from a 2002 silverado. The motor/trans have just under 100k on them, and for the price I couldnt beat it. For $800 I got:
5.3 iron block/aluminum heads
4L60E
all accessories/brackets
radiator
fan shroud
full a/c system
y-pipe/manifolds
all sensors
every inch of wiring under the hood, all the way past the fuel tank
ecu/OBDII port
full air intake/air box
a/c condensor
I used Trans-dapt motor plates, to bolt SB1 mounts on to, but they didnt work very well. I dont know if the trucks need different plates or mounts or what, but the stock truck mounts didnt work correctly. I bolted them to the plates and tried to set the motor in place, but it wouldnt sit right. I could put 1 bolt in the mount on the frame, but when I would try to put the other bolt in, the hole was 1/2" off. So rather than try to figure it out I decided to build my own frame mounts. The welds kind of look like hell, but it is all solid and reinforced with 1/4" plate steel so I know they arent going to collapse.
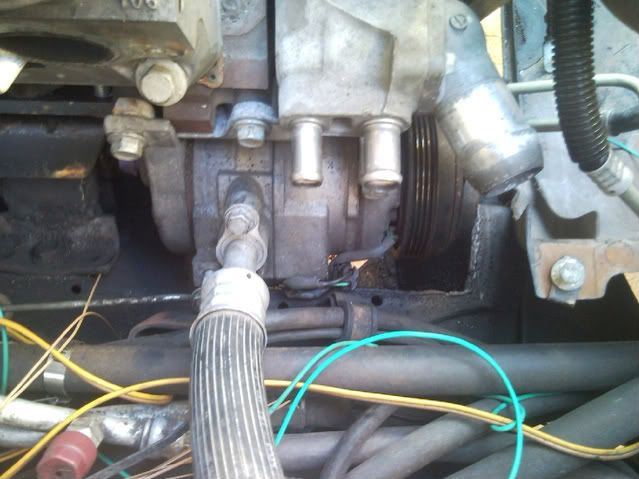
I notched the frame for the a/c compressor, filled it back in with 16ga sheet steel, which apparently is just on the edge of too thin to weld with my arc welder. I put the motor back in and the compressor has room front to back, but it is just barely touching on the outside of the compressor, so I will have to revisit the notch when I pull the motor back out.
7/22/2009
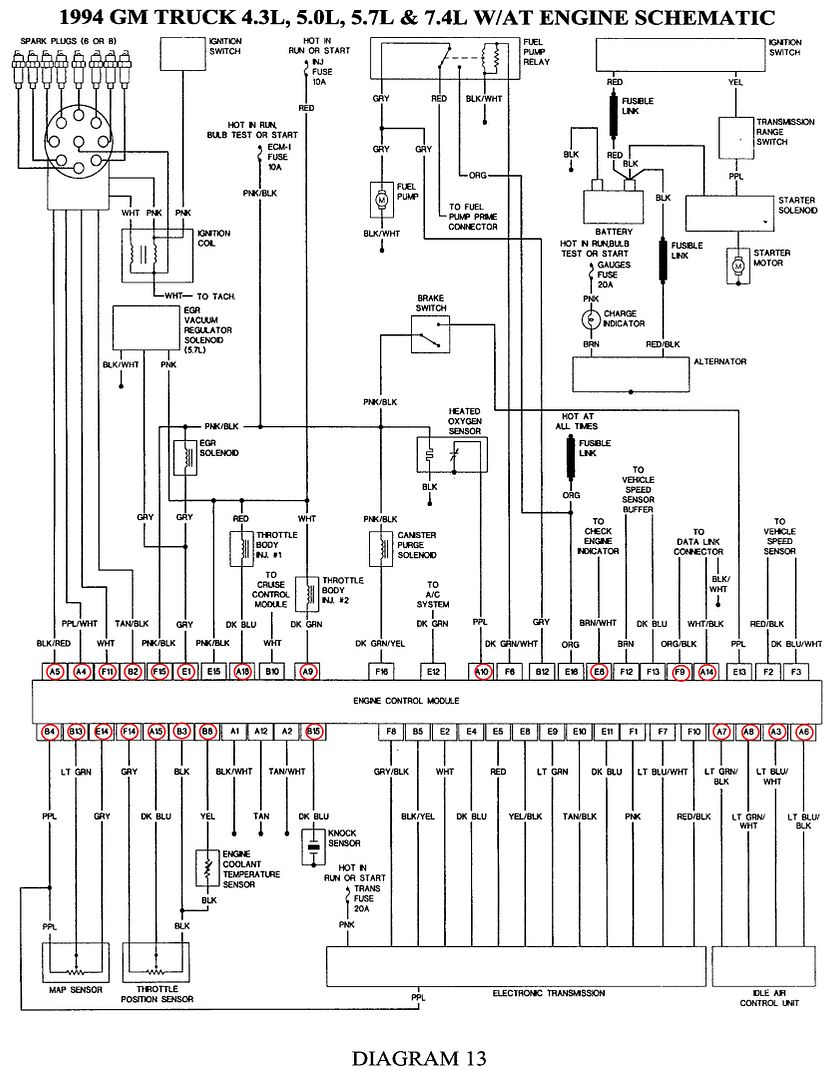
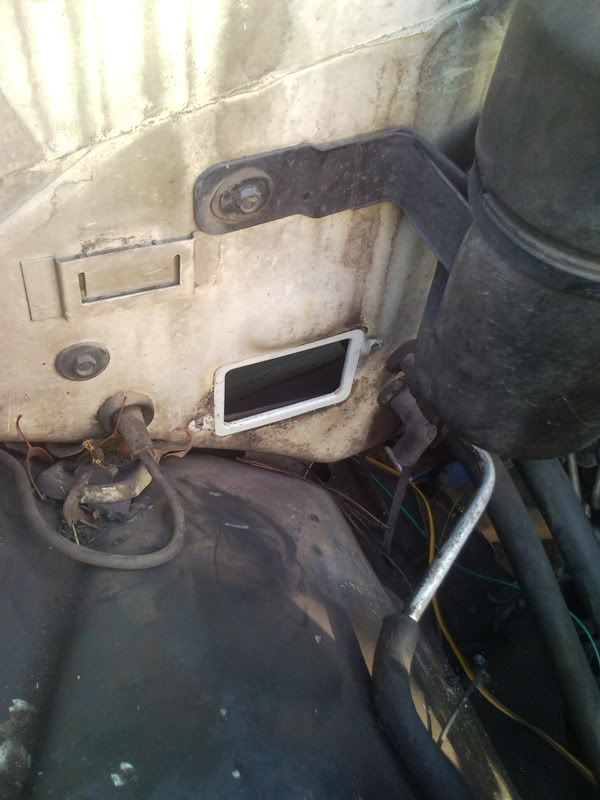
Tonight I finished pulling all the wiring from the old ECU, which was pretty simple. Behind the glove box is the ECU. Unplug the 2 connectors attached to the ECU, the 1 big black/blue connector, and the small black 3 wire connector (A/C-heater stuff I believe). After you unhook that, you can pull the wires out from behind the dash, underneath to the floor. Under the hood, you will see on the passenger's side where the wires exit the cab and enter the engine bay. There are 2 7mm screws holding the black weather-proofing box to the firewall, I found it easiest to remove the coolant overflow tank to get to it. The coolant overflow tank is held on by 2x 13mm bolts on the top, then pull up to slide it off the firewall.
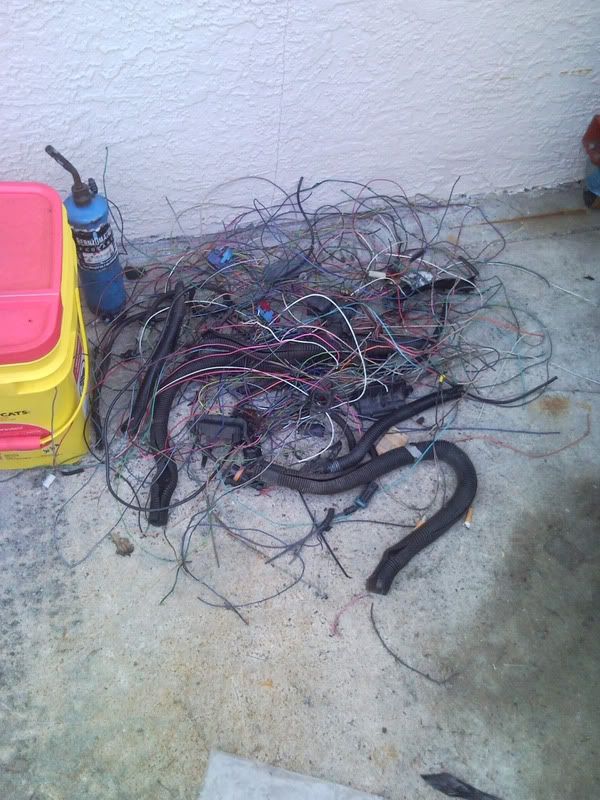
After you pull the wires through the firewall to the engine bay, you should be able to pull all the wiring/connectors over to the driver's side, where they end (go back into the cab to meet the fuse box). The weather-proof box is VERY difficult to get apart, as GM decided to GLUE the wires to the wire holders in the box, then at the same time, glue the wire holders to the box itself. I wish I knew where my torch was while trying to get the box open. Regardless, it took about 10 minutes, but I was able to pry the box open to get a look at the wires. At this point, I was able to find my torch and started heating the glue to release the wires. You have to be careful here, as you dont want to burn the wires or melt the box. I held the box so the glue was vertical, and could run off the bottom as it melted. I heated it for about 10 minutes, then while the glue was hot I started pulling wires out. I suggest having your wires cut off the connectors (ECU) before starting this, so you can pull as many as you can before the glue gets cold. Depending on how much of the glue you let run off before cooling, you will still be able to pull wires after it has cooled, which is what I was able to do.
In the end, I was left with about 10 wires, which were for the alt (gauge wire), A/C front and rear plugs (compressor), oil pressure (gauge), wiper motor, purple starter wire (solenoid, column) and I believe that is it.
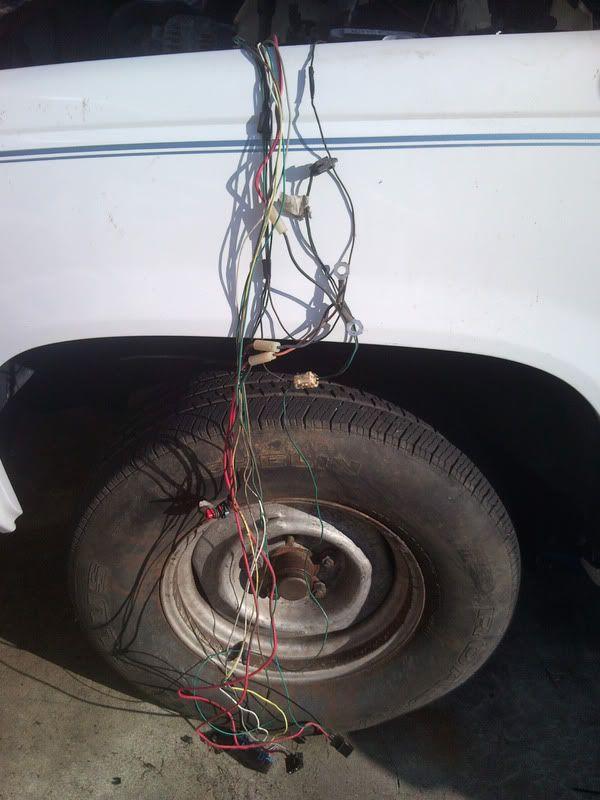
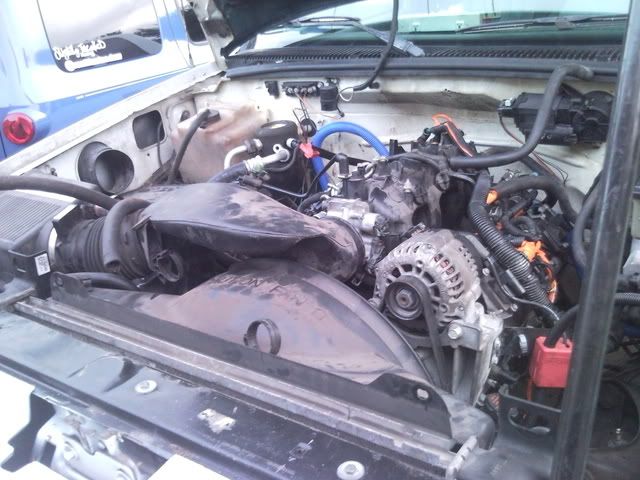
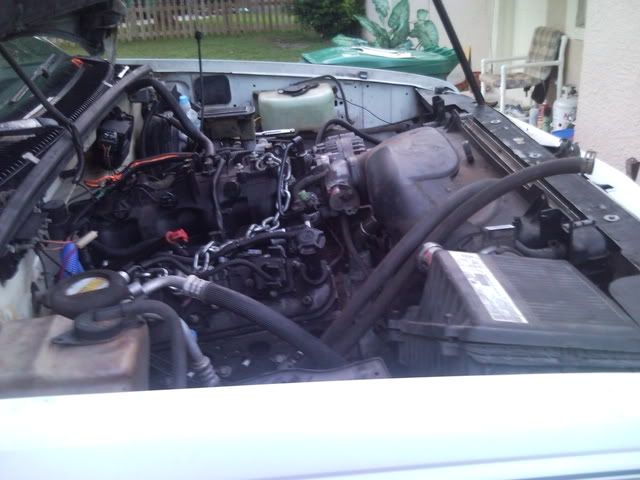
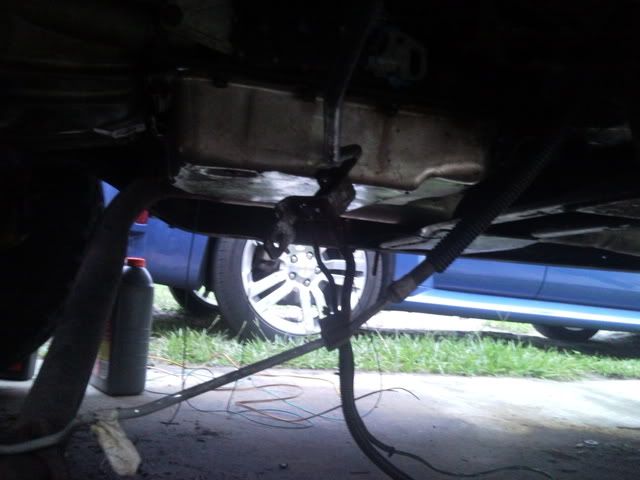
Random pics
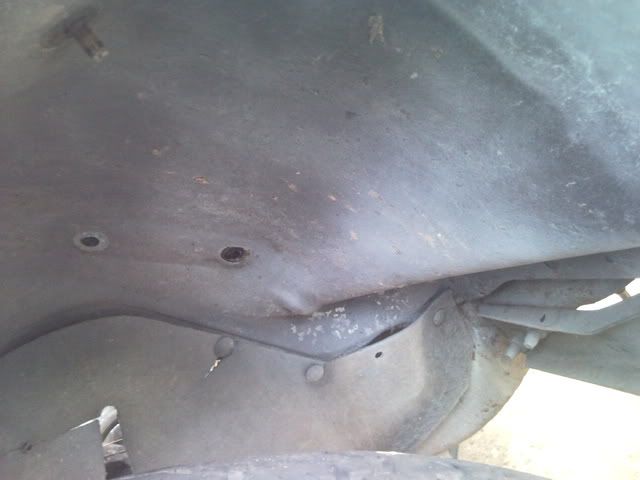
Clearance
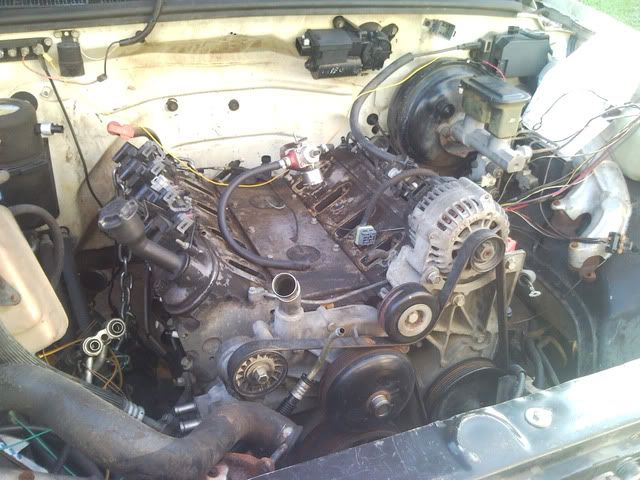
Engine
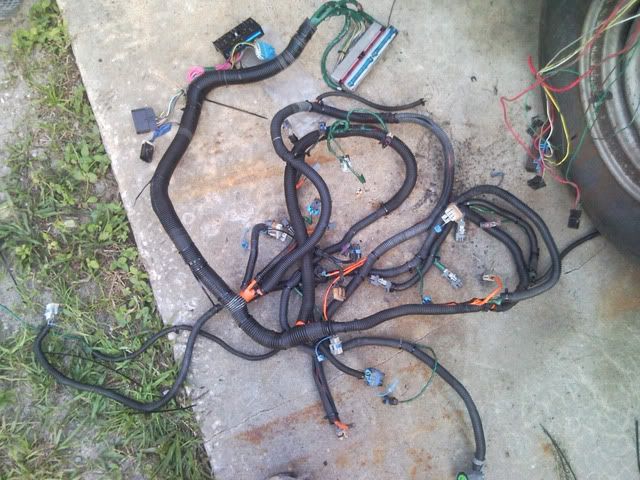
Reworked harness
7/28/09
After work tonight I started on a little bit of stuff. I got the transmission crossmember put up, still need to get a bigger drillbit and the correct bolts to oblong the crossmember holes, since of course after welding everything down things dont fit exactly as they should lol.
Also routed the crank pickup wires, 12v to the starter, solenoid wire, a/c wires underneath to the hookups.
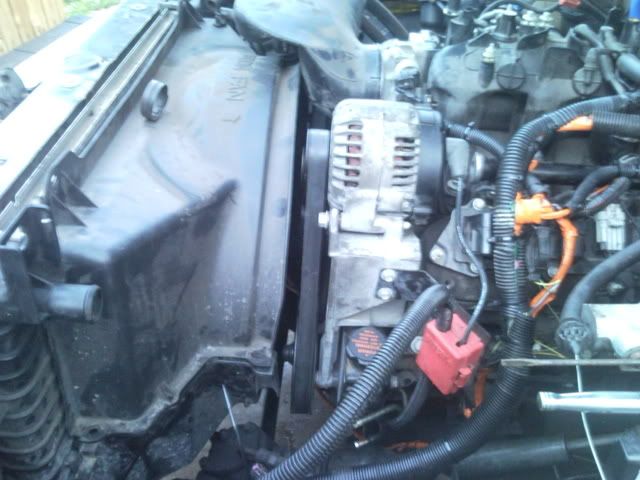
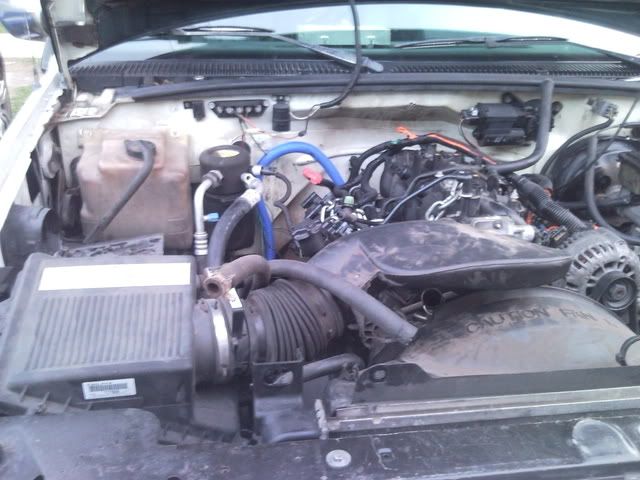
After I did that, i wanted to check fitment of the 2002 Silverado radiator, and when I did that I also tested the fan shroud, and air box. A little trimming and the airbox will fit awsome.
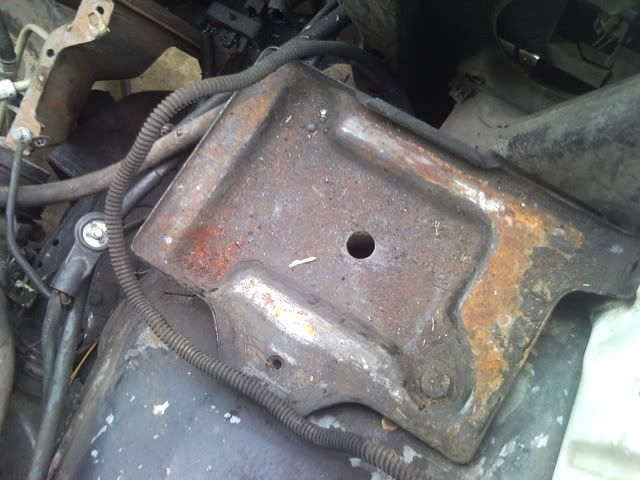
Since the airbox on late model Silverados is on the passenger's side, they have the battery on the driver's side behind the headlight. Unfortunately my truck didnt come with the dual battery trays. so after removing the battery tray from the passenger's side, I cleared the driver's side to ensure that it had provisions for the driver's side factory battery box, which it does, minus the holes. I need to swing by the salvage yard and pick one up, or check and see if my shop truck has the same mounting location, as it does have the 2nd battery tray.
There are 2 13mm bolts and 1 13mm nut that holds the driver's side battery tray down.
Here are some pics as it sits now. Tomorrow I will have to do some cutting on the radiator, take the old condensor out, along with the old aux trans cooler then I can start test fitting the aux power steering cooler, aux transmission cooler, condenser, and get the silverado radiator tied down.
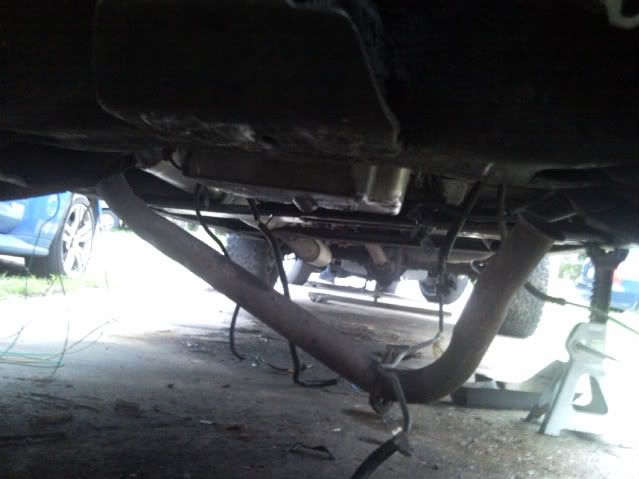
Still need to cut the old exhaust out, get the silverado y-pipe welded back together, get bolts to bolt the manifolds on, starter up, tie the battery down, splice 10 wires into the factory truck wiring, pull the bed and install a new pump or gut the stock pump and put in a boost-a-pump. Still have about 2 months before it will be driveable, but it is getting there and I am gonna be super happy with it in the end.

 Reply With Quote