Billet Servo installation
Here's a little information for those wanting to know what a servo installation looks like and details. This is a full 1-2 and 4th billet servo kit from 4l60-e.com aka transmissioncenter.net . I believe these are Fairbanks/Superior brand servos similar to these minus the small blue spring.
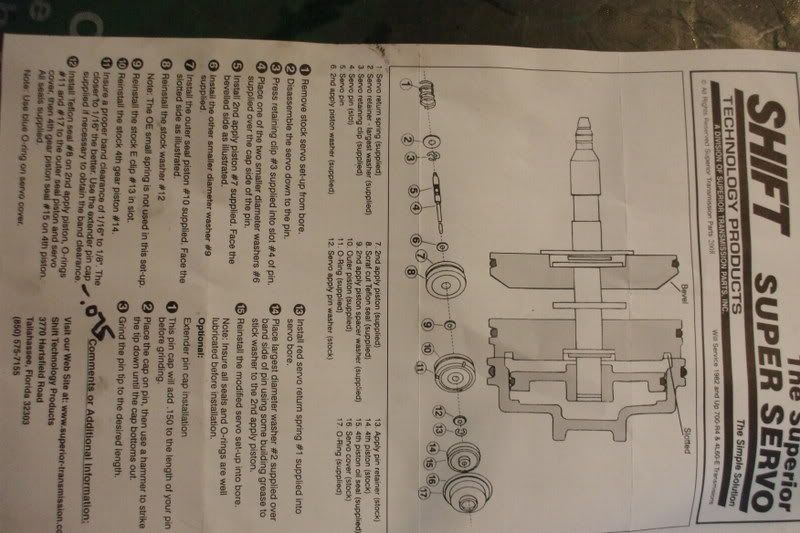
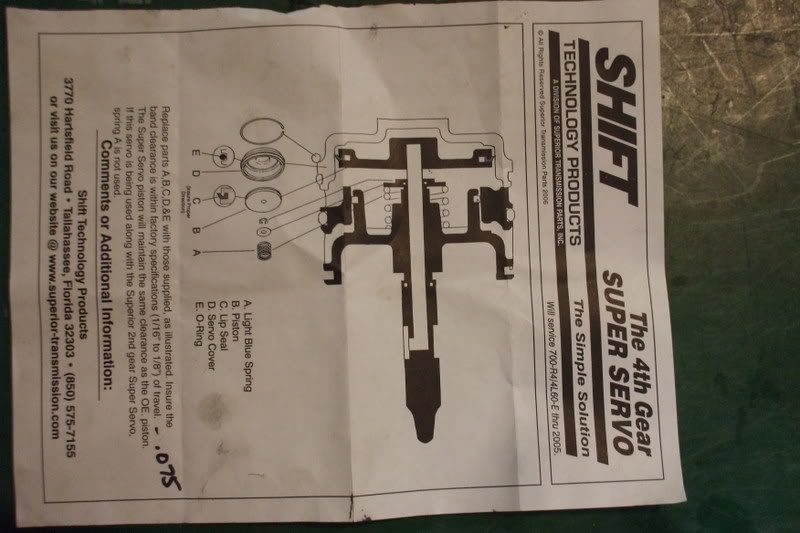
Installation instructions, turn your monitor on its side, don't hurt your neck or look like a doofus trying to tilt your head 90 degrees.
Below are Superior brand products similar to those in the installation.
1-2
Superior Transmission Parts' 700-R4/4L60-E Super Servo*
4th apply and cover
Superior's 4L60/4L60-E Super Servo
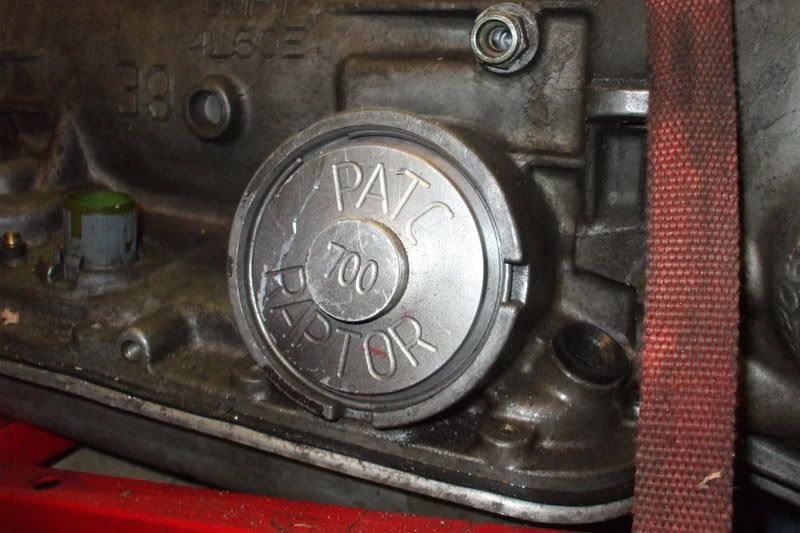
or go here... 4L60E Performance Transmissions from PATC and look at part #1 and #3X (the image on the right)
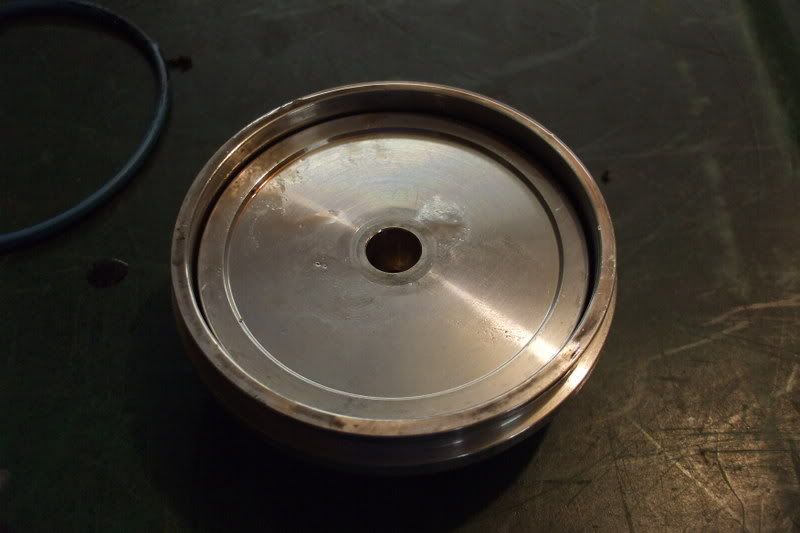
One note, the outermost piece that fits into the cap has a seal that looks like a wiper seal. The edges of the seal should point outwards of the transmission making it where you have to work a little bit to get it to fit in the cap.
Servo assembly...
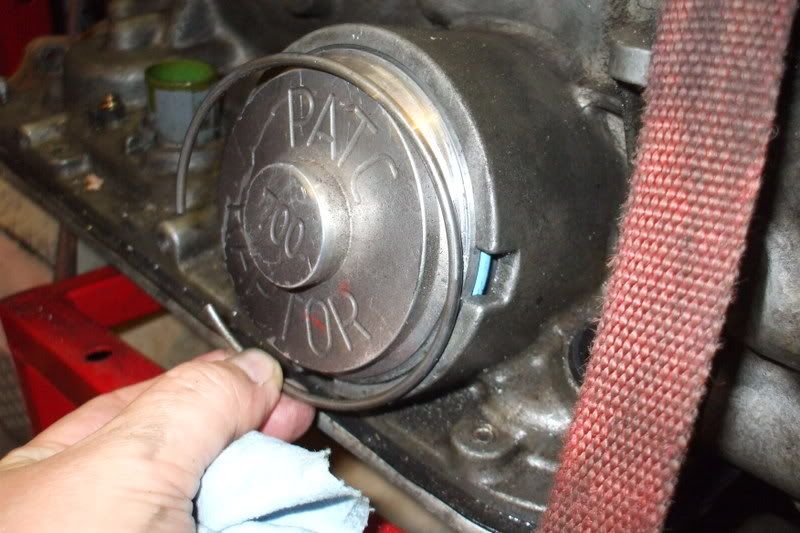
Remove servo cover by pressing inwards with your palm, take a small screwdriver and remove the retainer snap ring.
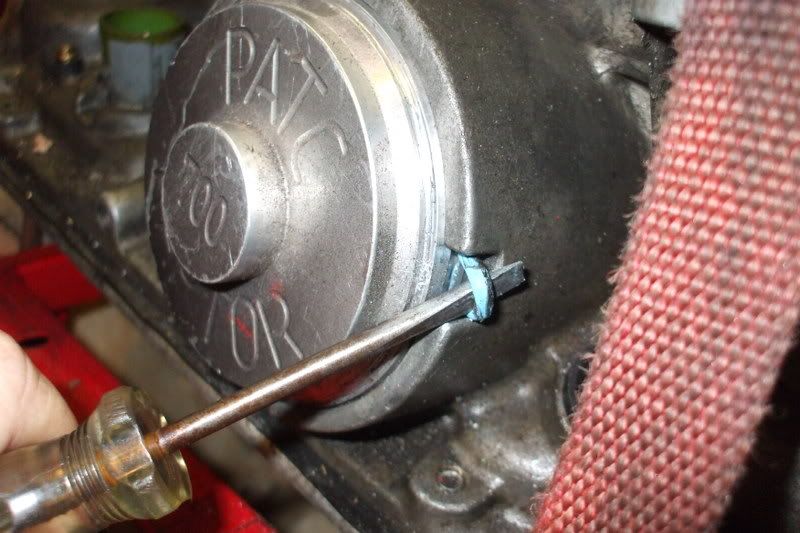
The servo assembly will not just fall out, you have to pull the o-ring out. Often you can just pull it will a screwdriver, stretching it out, and the cover will pop out.
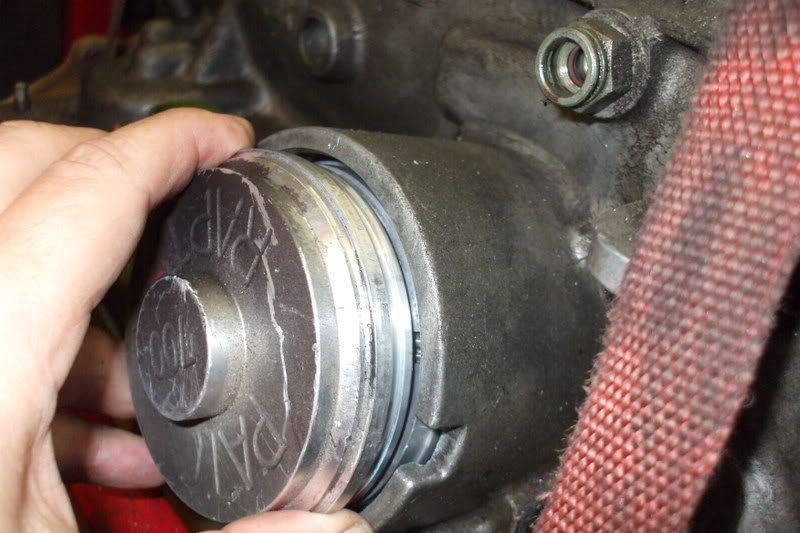
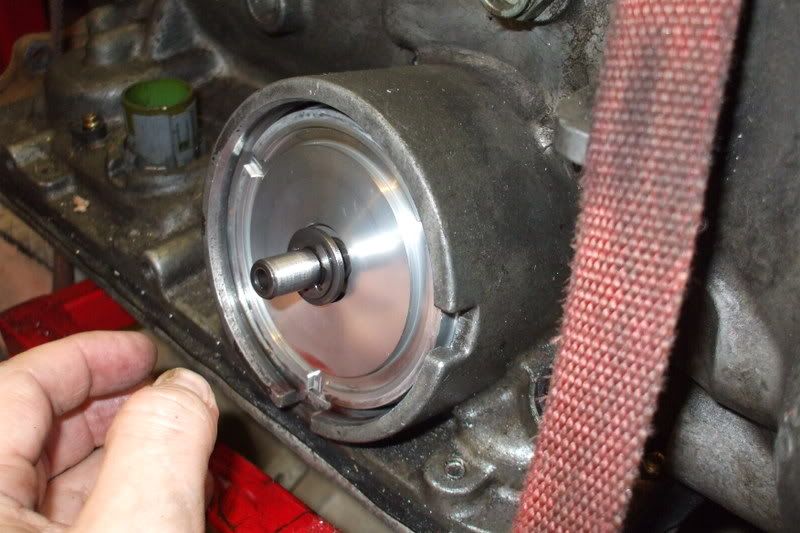
Remove the cover
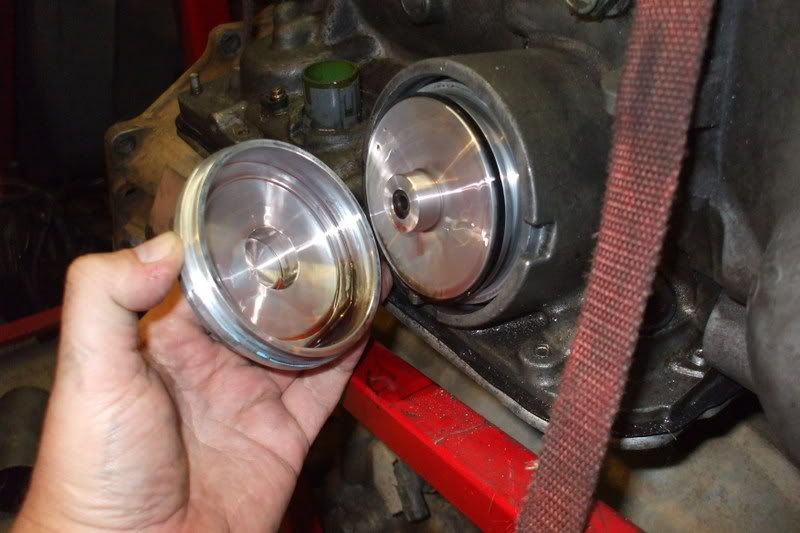
Here you'll notice that a billet servo is already installed, revealing the piece that fits into the cover
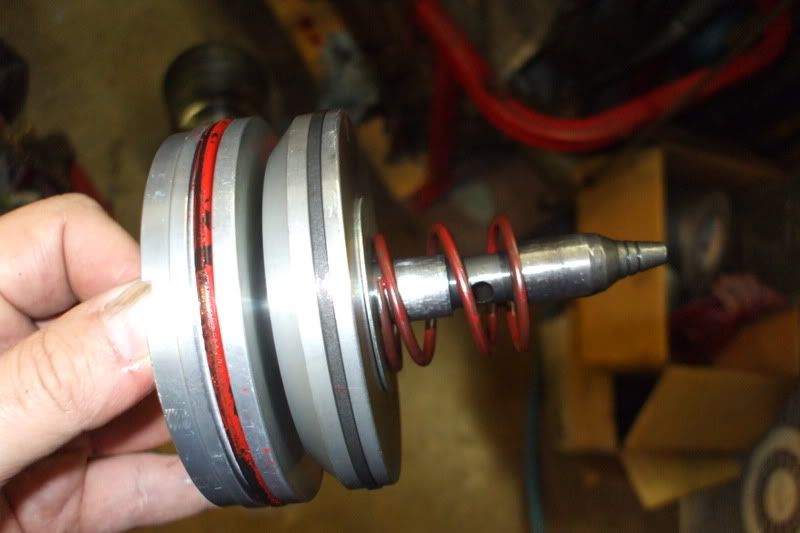
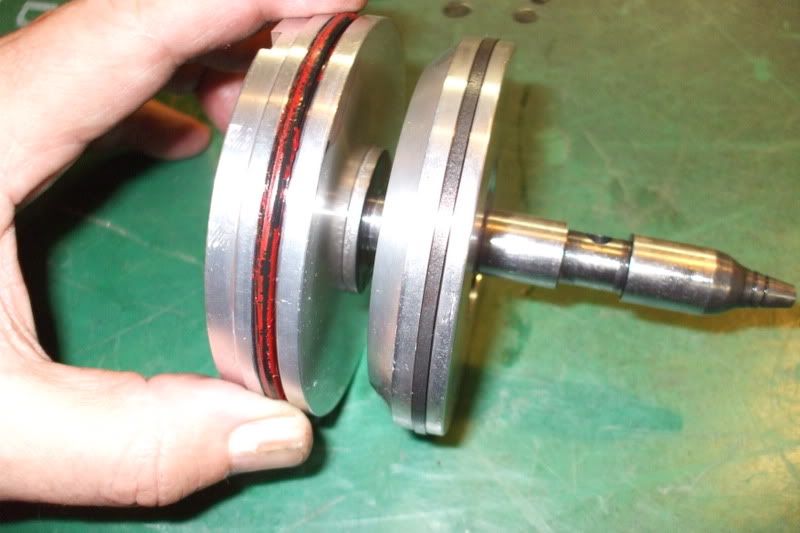
Here is the complete assembly fresh out of the transmission...
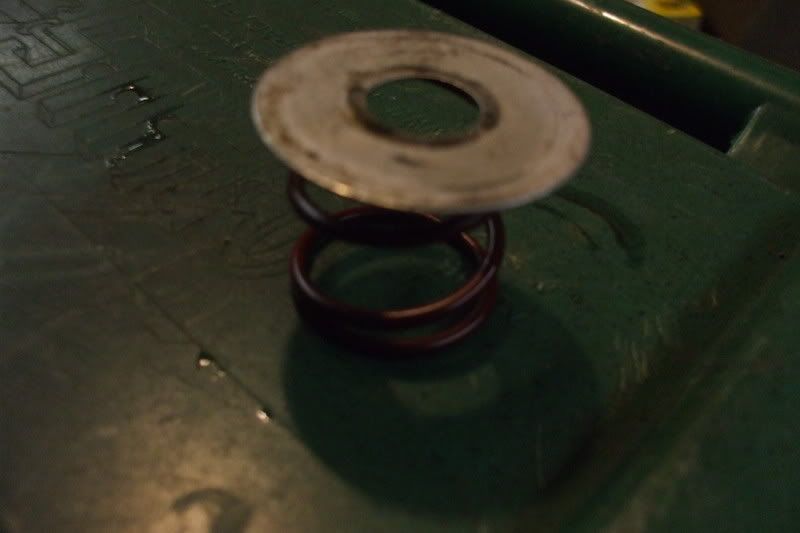
Here are the only two pieces that go between the servo assembly and the transmission case. The spring goes in first and the large diameter thin washer goes against the inner-most billet servo piece.
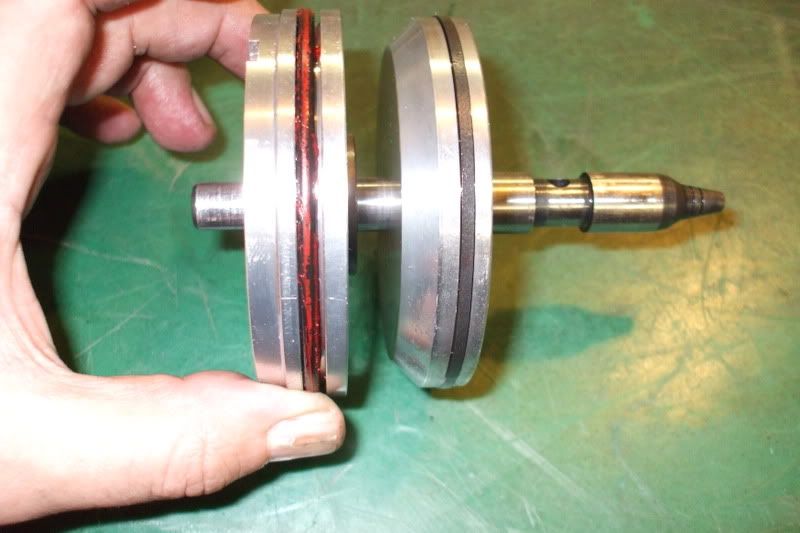
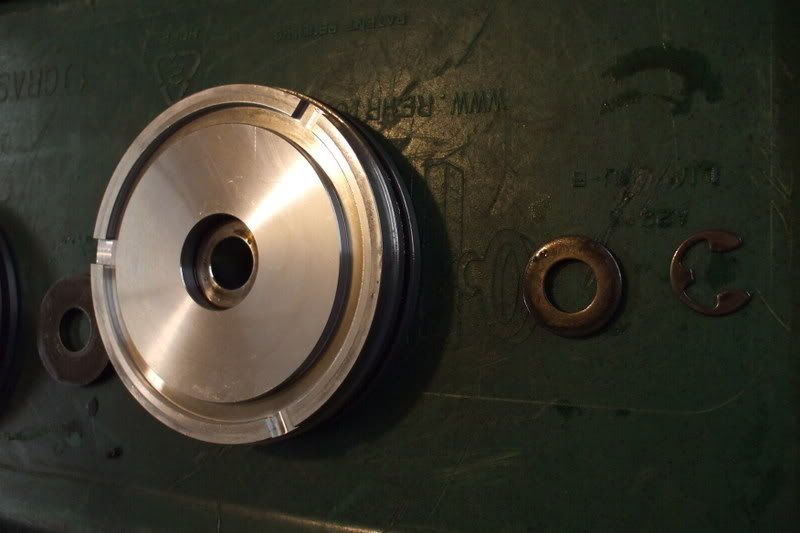
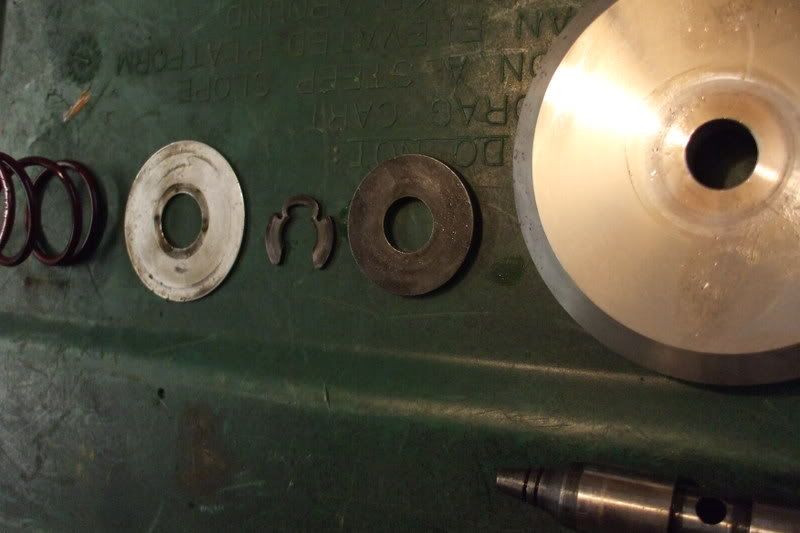
This is all the pieces between the circlips...
and here is another view
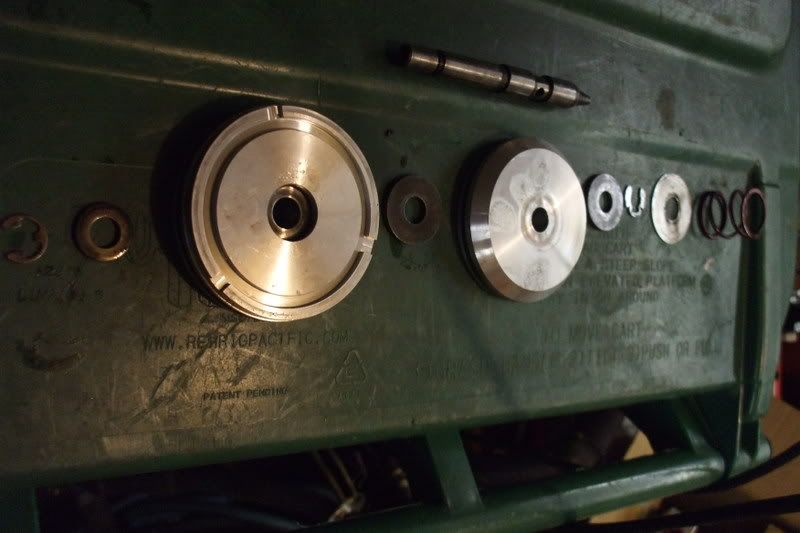
parts laid out in order of assembly...
How the cap and outer most piece assemble together...
A couple videos...
Parts in order of assembly...
Assembling the servo...


 Reply With Quote


