Thanks guys, I figure I might as well get creative while I have some spare time before the rest of the build starts to pile up on me later.
I can't wait to get a tranny so I can yank the old 350 and mock everything up!

Thanks guys, I figure I might as well get creative while I have some spare time before the rest of the build starts to pile up on me later.
I can't wait to get a tranny so I can yank the old 350 and mock everything up!
Last edited by fabianss357; 09-24-2012 at 08:22 PM.

The covers and intake look awesome. If you have any more info on how you did this and what you used I'd be very interestedOriginally Posted by fabianss357


Looks nice. how did u polish the valve covers? you should polish the heads, water pump, and ALT bracket that would look pimp
2012 Ford F-150 Ecoboost Super Crew 4x4, stock and staying that way.
2001 chevy green = LS1 stock, 3k stall, 373 posi, tuned by LSX Power in CS TX

Great job.I wish i had the patience and the skills to do work like that.
DAMM! UIM looks nice!
On the aluminum it was just a sanding process. I started with 150 grit sand paper to get most of the casting marks and imperfections out. Then stepped up to 250 400 600 and 1000. I then hit it all with mothers aluminum polish and worked on it pretty hard till I got a nice shine.
I have a 90 degree air die grinder and a small air sander/buffer with sanding discs that made it all a very fast process compared to hand sanding everything. The fuel rail ends, crossover fuel tubes and misc were just cleaned and hand polished.
As far as the shaved intake, i tried to cut the ribs down with a dremel... No go.
I just took my reciprocating saw with a long metal cutting blade and slowly cut everything.
Way faster and cleared everything nicely. Then I used the die grinder with some 80 grit discs to finish it out.
The rest is kinda documented in the pics I posted.
They would look nice, but it would be a HUGE pain in the arse.
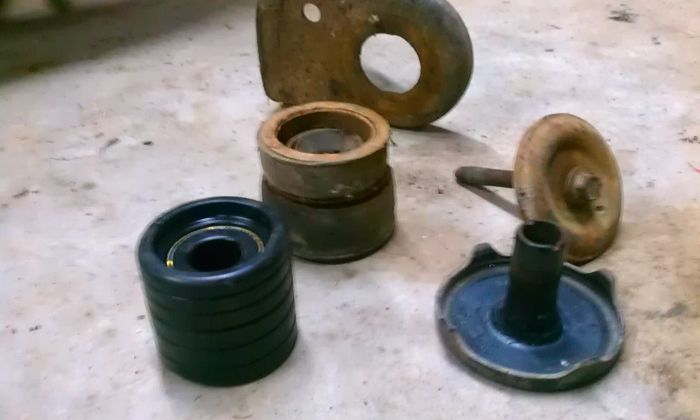
They will be cleaned, prepped and shot with paint probably... Unless I get bored and figure out a way to sand and polish all the crevices quickly and efficiently without losing my mind.
Last edited by fabianss357; 10-07-2012 at 05:43 PM.
Looking good, keep it up, and keep us posted!
well its been a while since i posted a progress report, the good thing is there is progress.
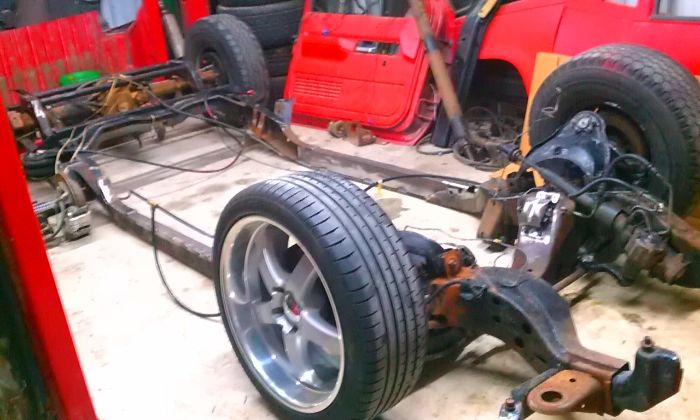
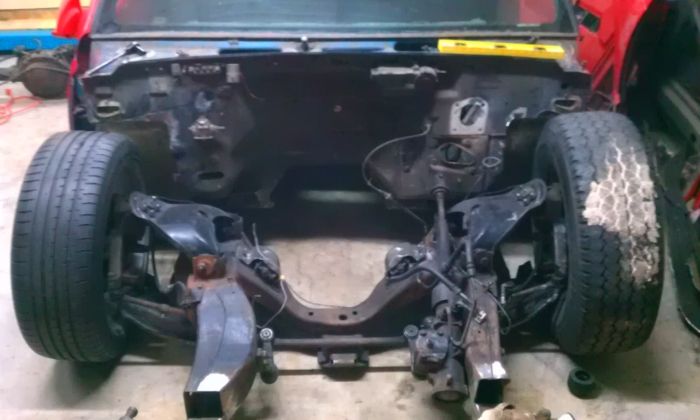
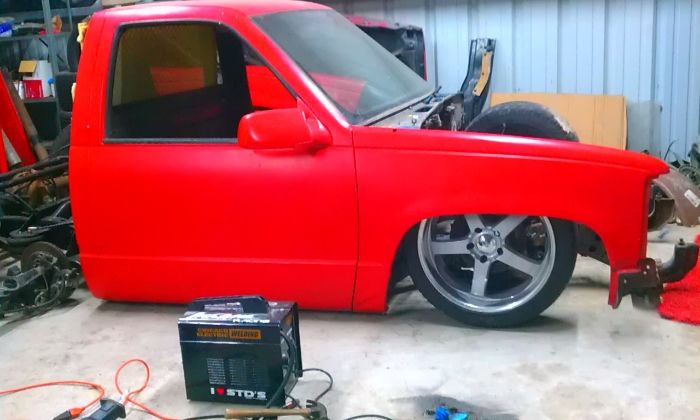
Got the motor all put back together and done, and the old 350 yanked out.
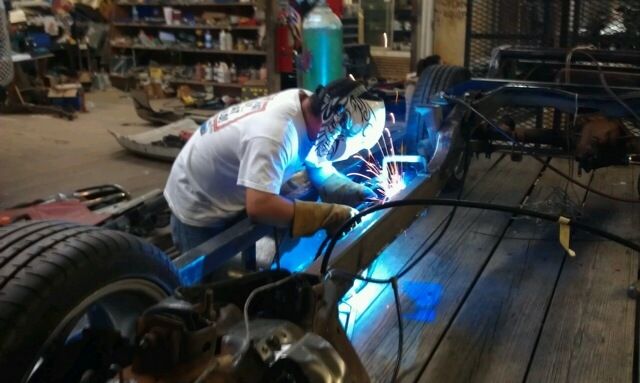
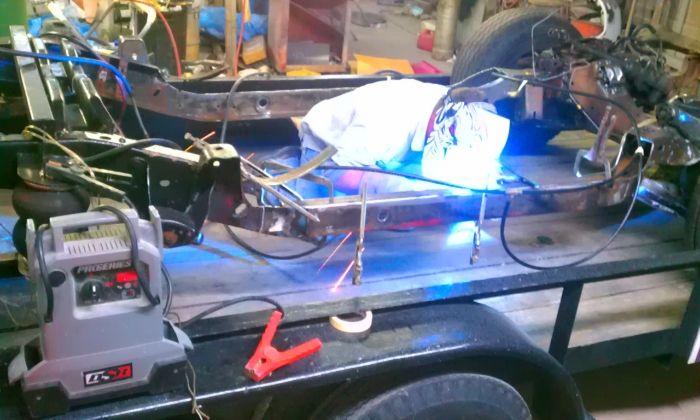
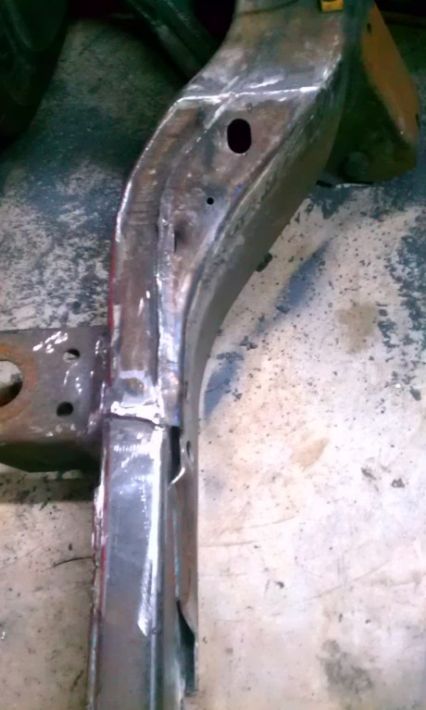
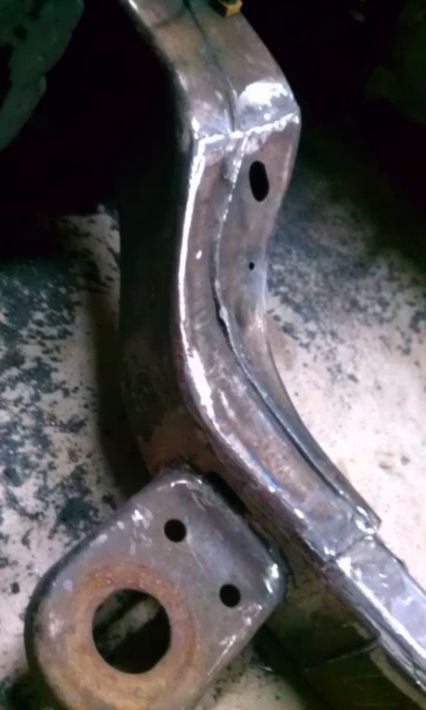
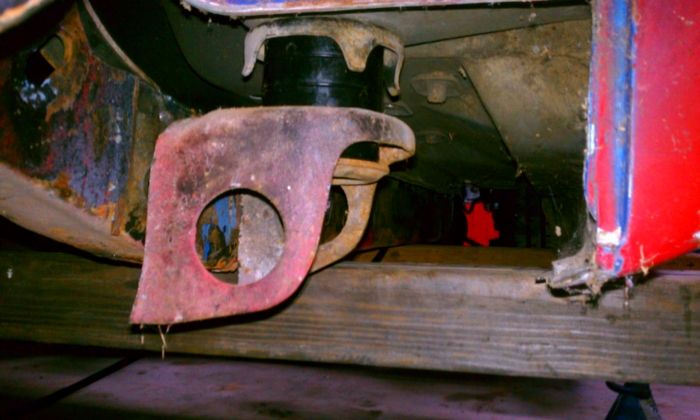
I got the stock floor body drop knocked out back in dec and welded the frame all up with 2x3 and lined up the cab and got the cab mounts back into their new home with the addition of new energy suspension cab mounts.
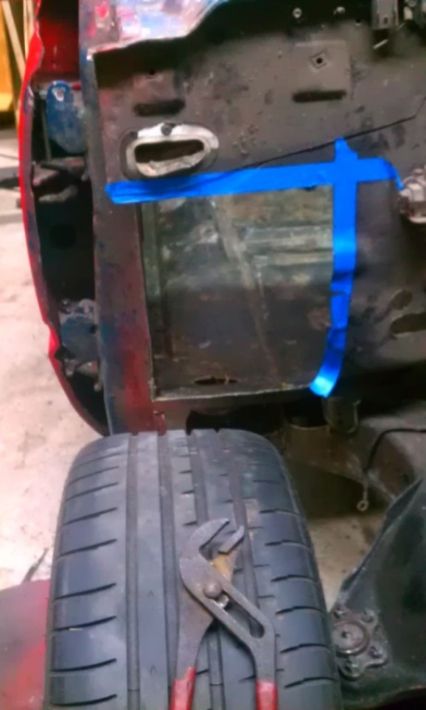
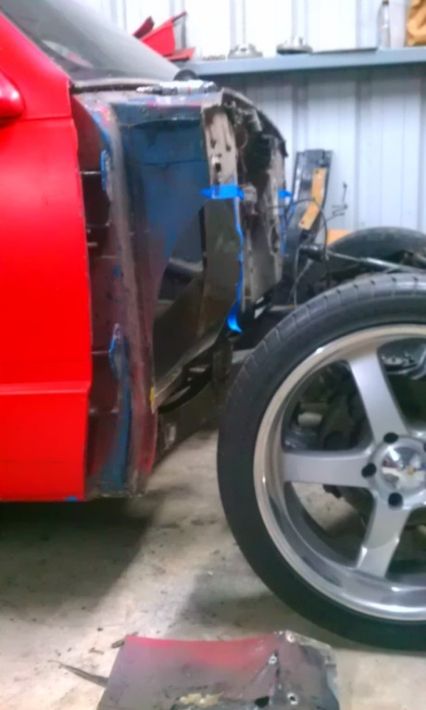
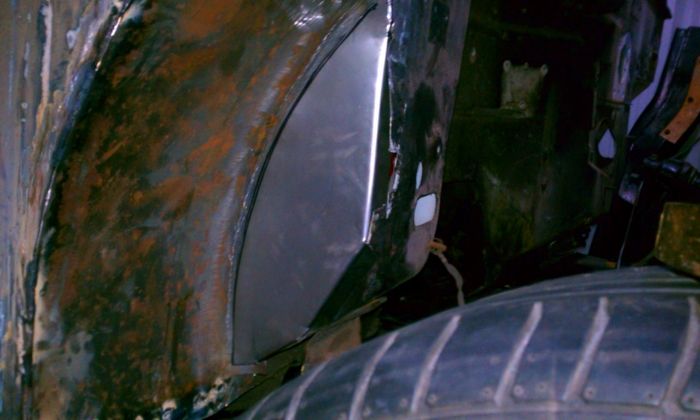
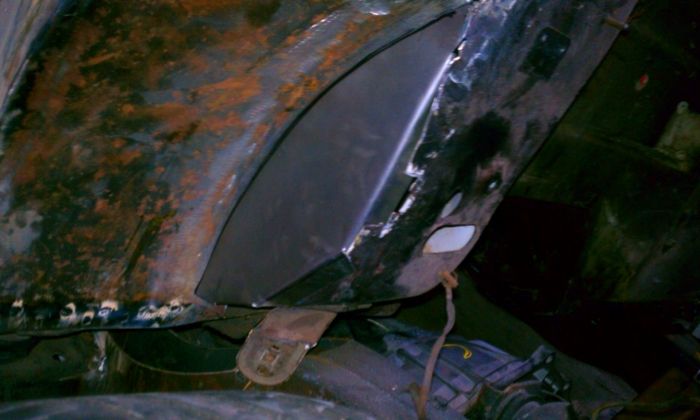
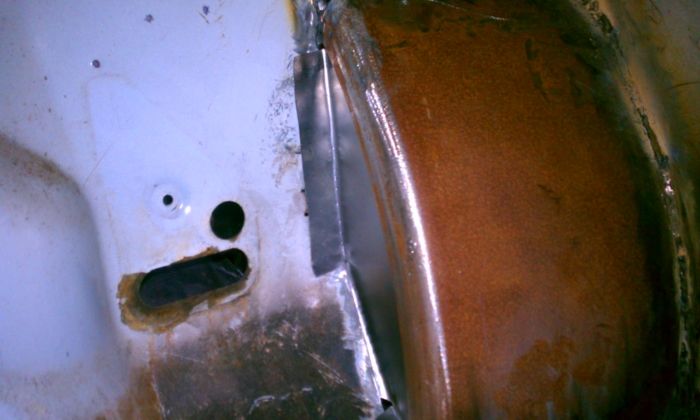
it wouldnt lay due to the 20s hitting the firewall so i also knocked out the firewall tubs. I added the stock parking brake indention back into the tub too. Gotta have a p-brake to pass inspection in texas...
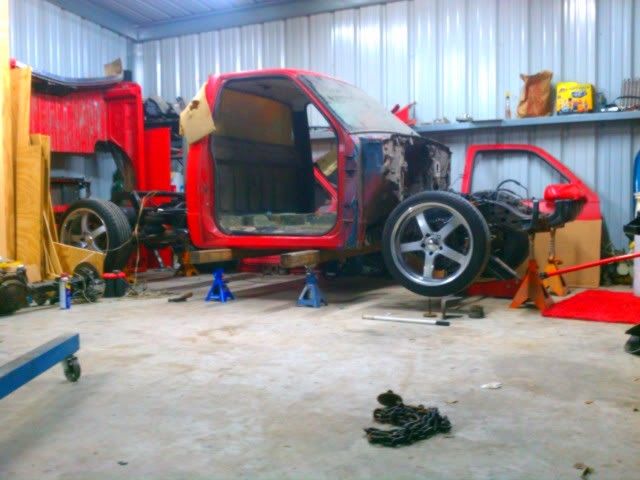
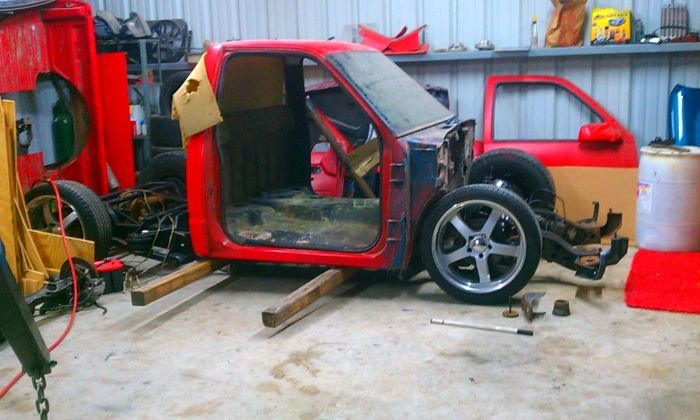
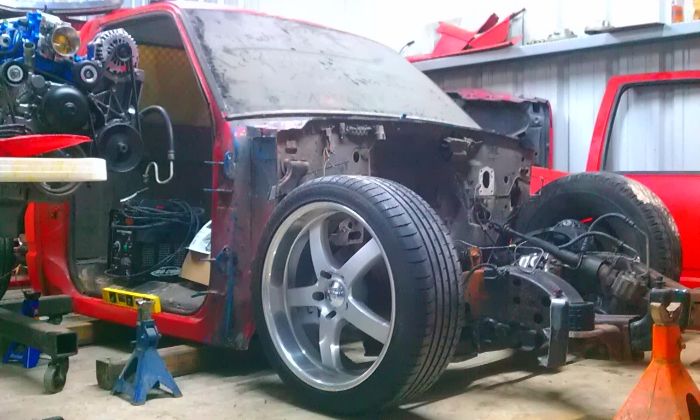
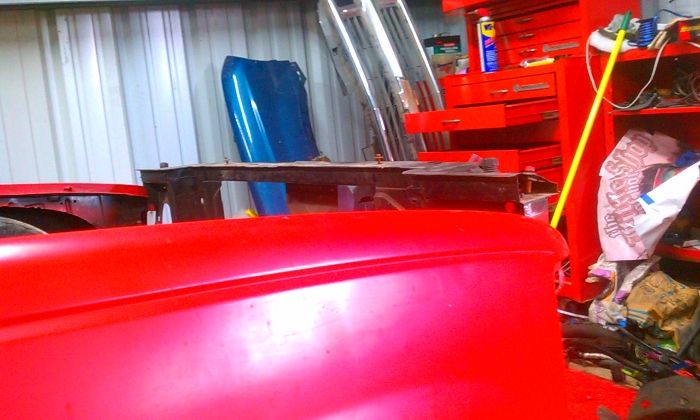
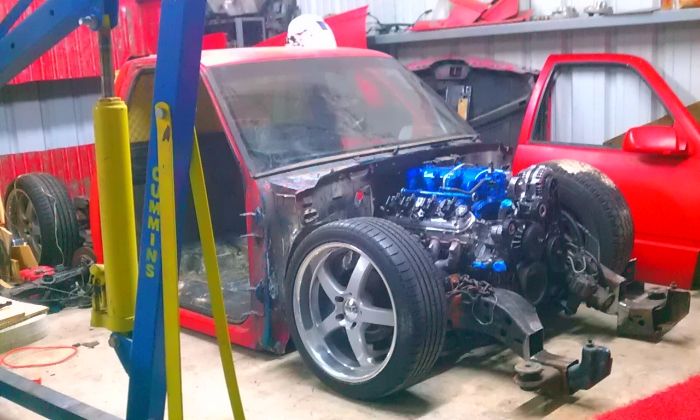
I finished up the frame and mounts and firewall and set the cab back on for fitment of the motor as well as to tackle notching the front for the core support.
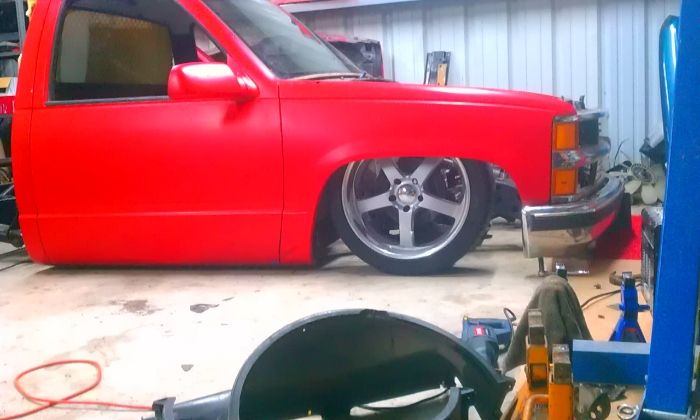
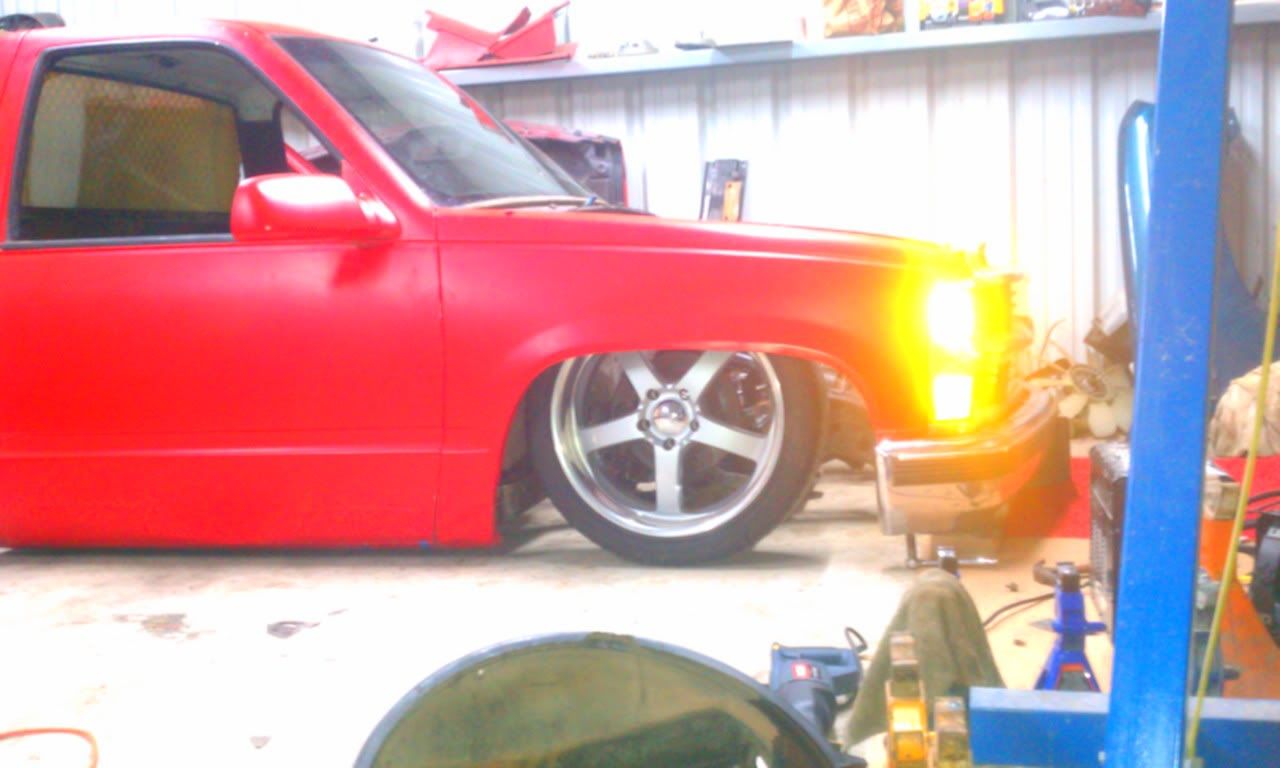
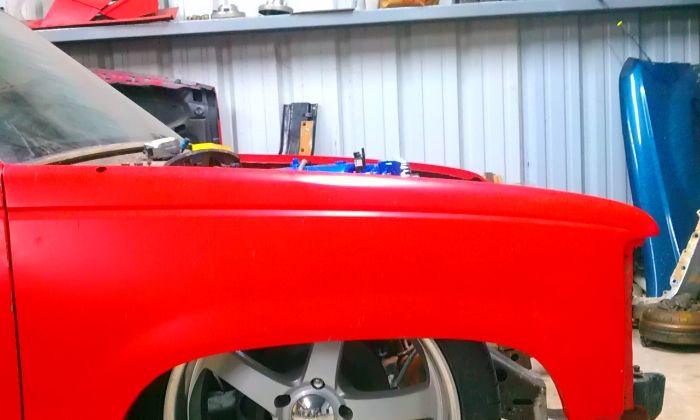
Also threw the fenders on for a visual of how the motor would sit.
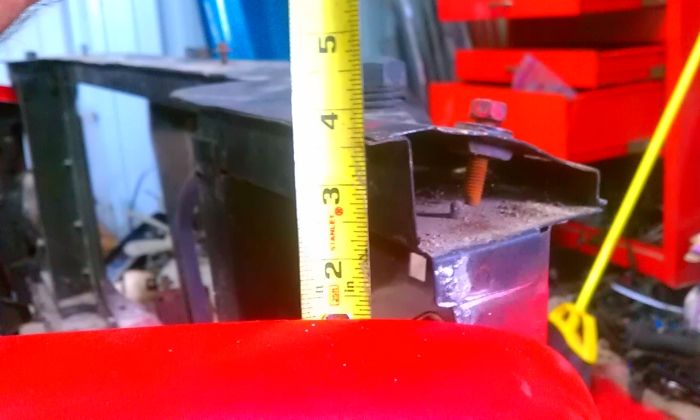
Then i went ahead and did a quick test fit of the motor and it all looked good until i aired it out. The stock pan hit and wouldnt let the truck lay (again)
so i have a ctsv pan on the way. I am currently waiting on that to remock up the motor and drill my mounting holes for the modified tranny crossmember.
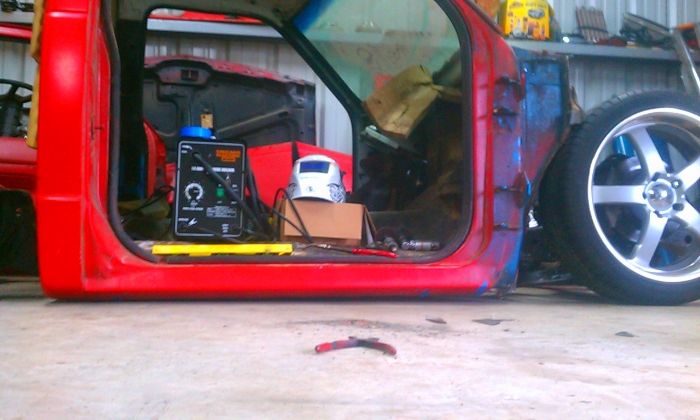
Then i can raise the transmission tunnel and finish up the cab portion.
Anyway enough talk on to some pics!
 Posting Permissions
 Reply With Quote