-
Well thank you.
Video will be posted for sure, including converting at least a small portion of the rear tires into visual obscuration.
Will it be Ken Block/TopGear quality video?... Doubtful, but entertaining none the less... 
-
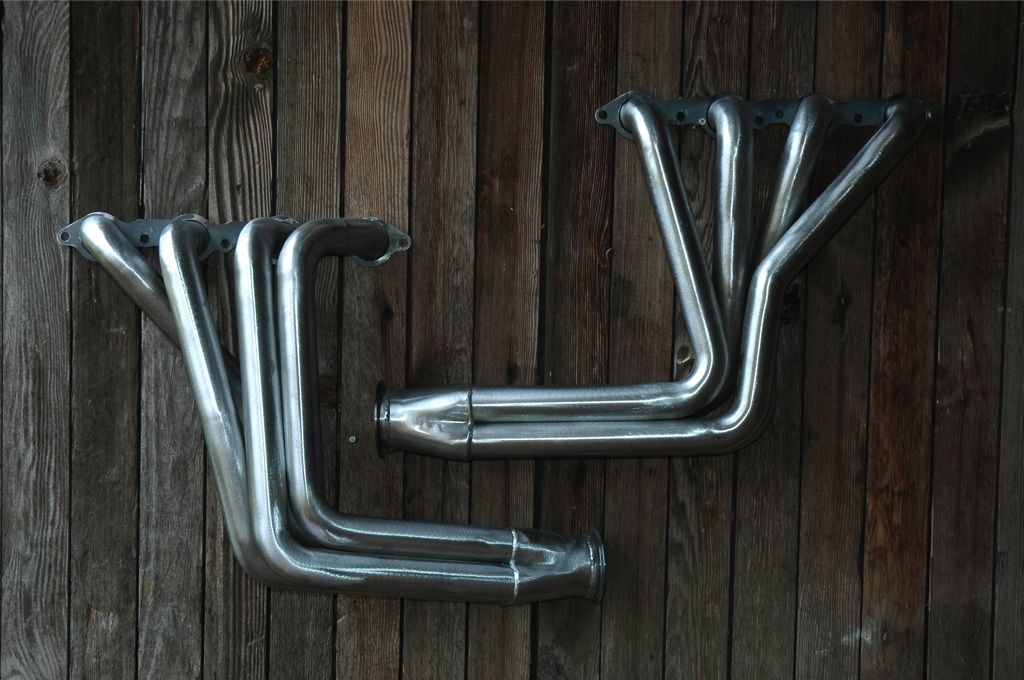
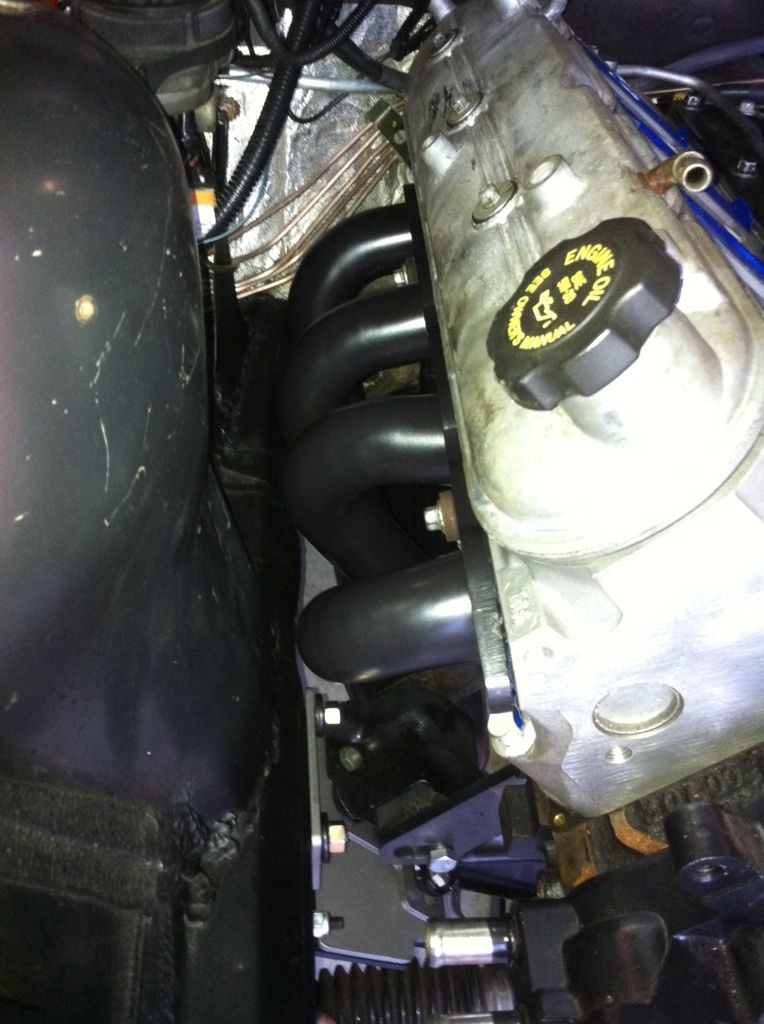
Headers arrived.
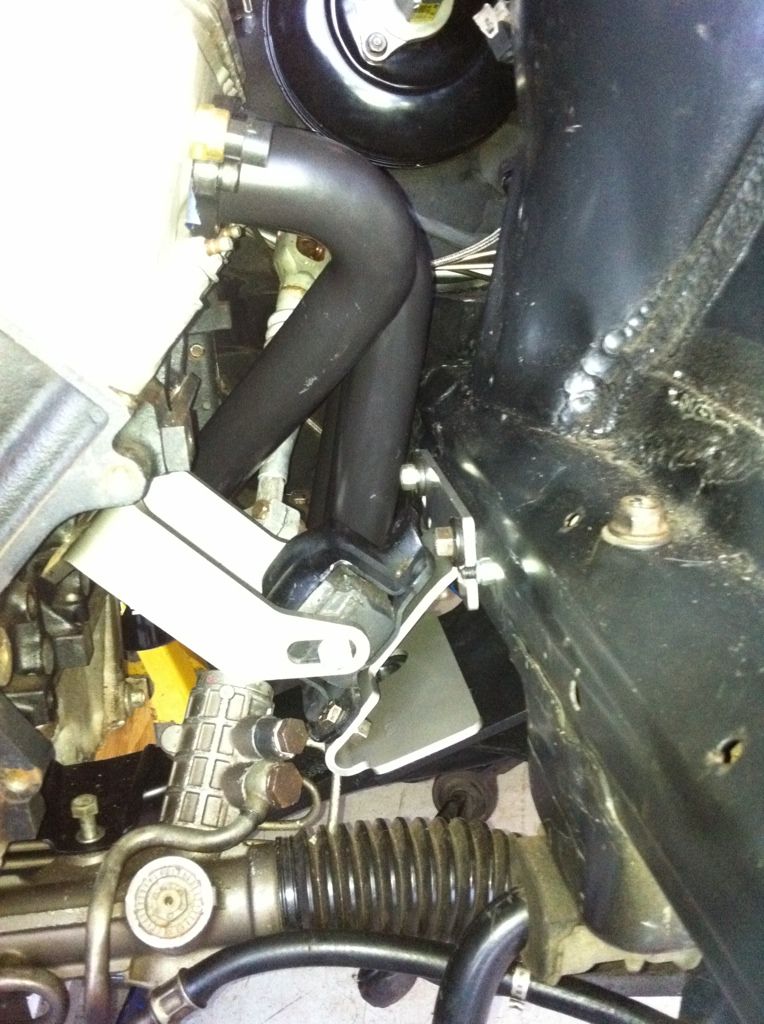
Headers arrived, excellent quality and fit very well. 1 3/4" long tube mild steel, 3 V-band flange.
Excellent clearance between the #7 primary and Mercedes booster as well as the stock BMW steering shaft. Taking them down to Finish-line coatings here in Portland on Monday for their Turbo-Black ceramic.
Now with headers here, mounts can be finalized, trans X-member designed and built around the GM F-bod LS1 trans isolator, heater hose/pipe routed, final fuel line routing into the engine bay, etc.
Here are some shots of the soon to be released JTR E36 LSx long tube mild steel headers.

-
Slacking on the updates, family situation requires most of my free time along with getting this back on the road as daily driver, so several updates from the past few months all at once, culminating in the car is driving. :2thumbs:
My apologies for crappy phone pics. Took some real pics, hope to get those posted early next week.
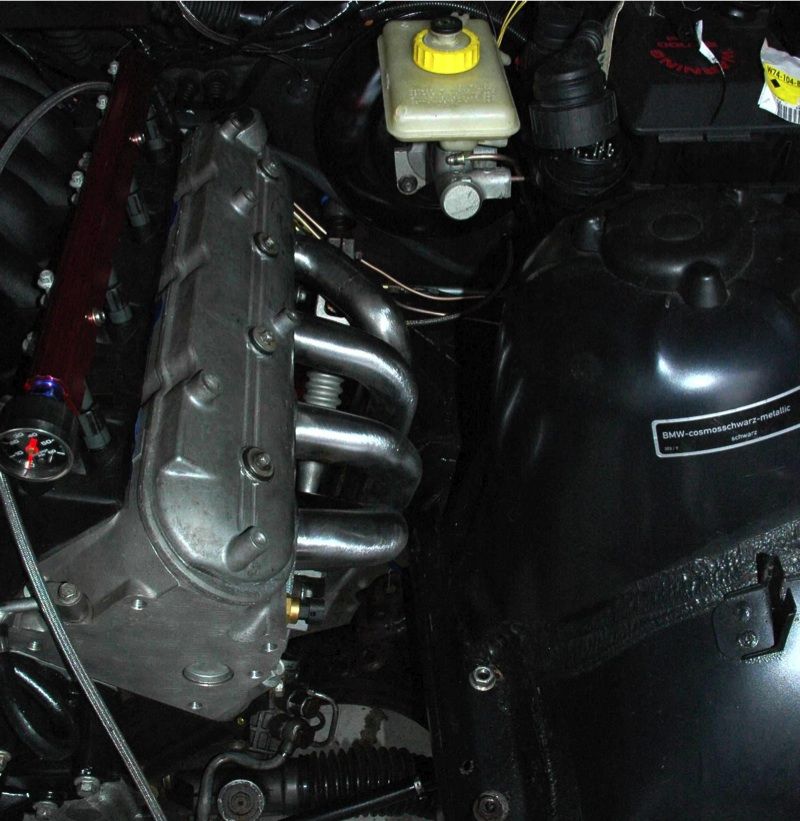
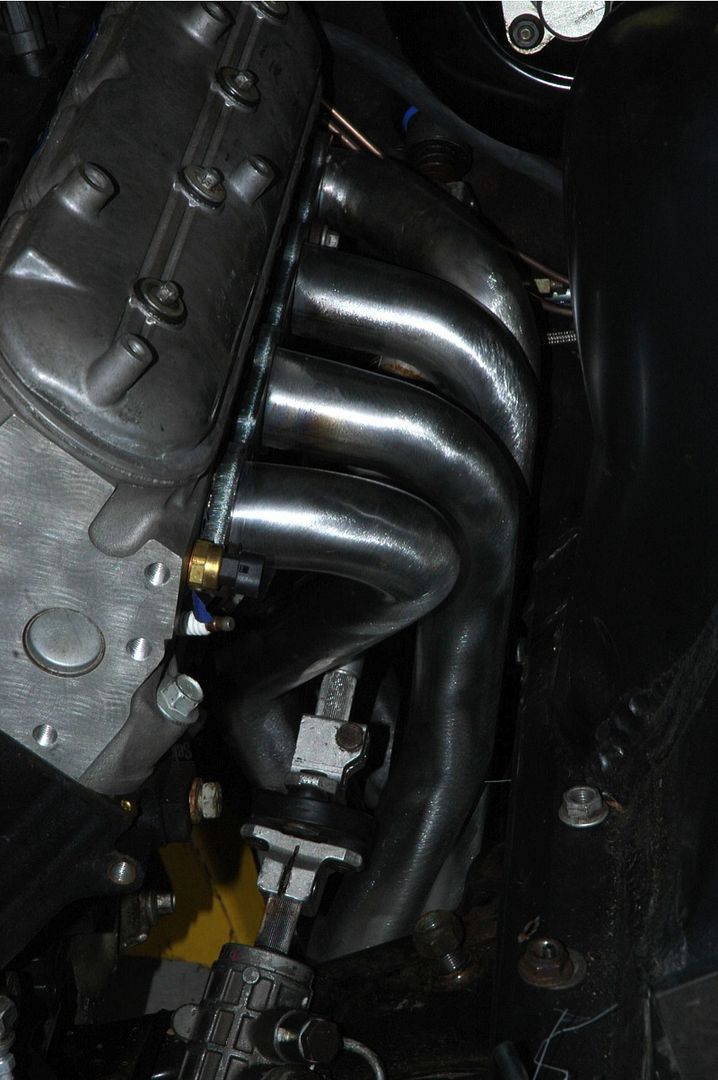
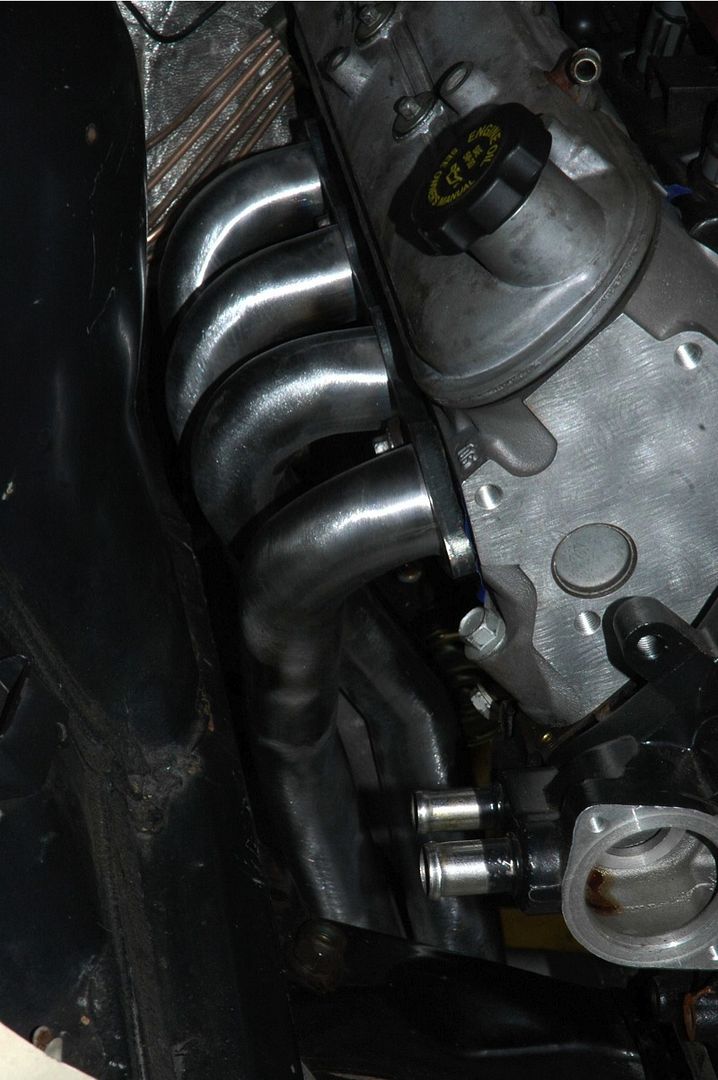
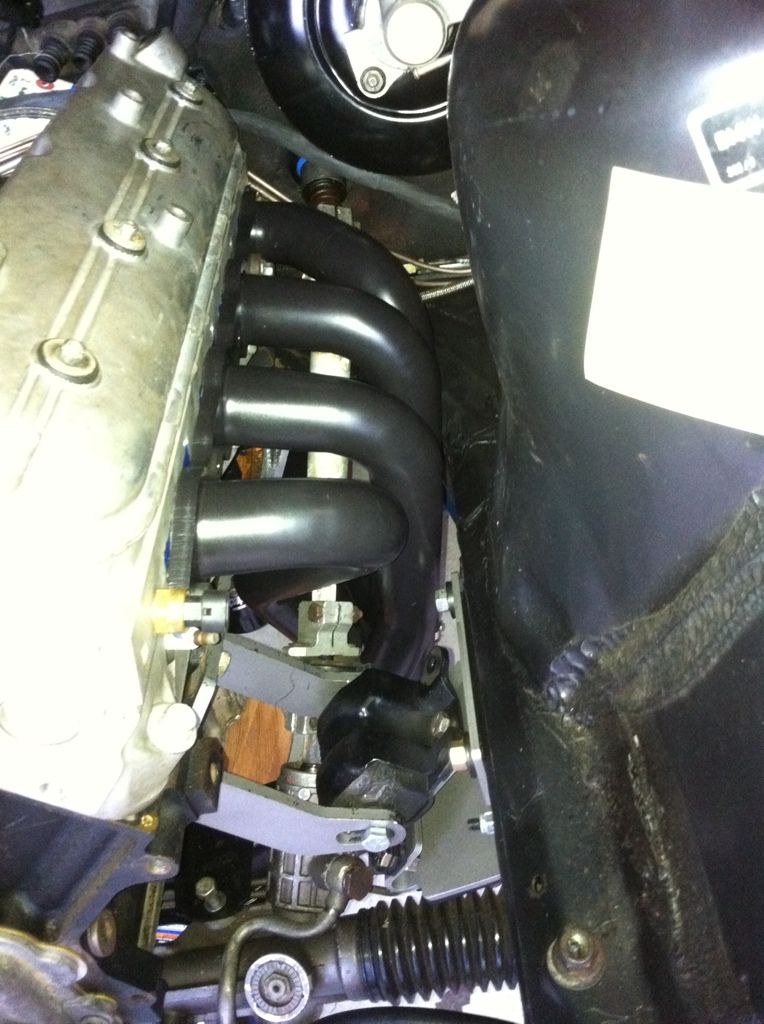
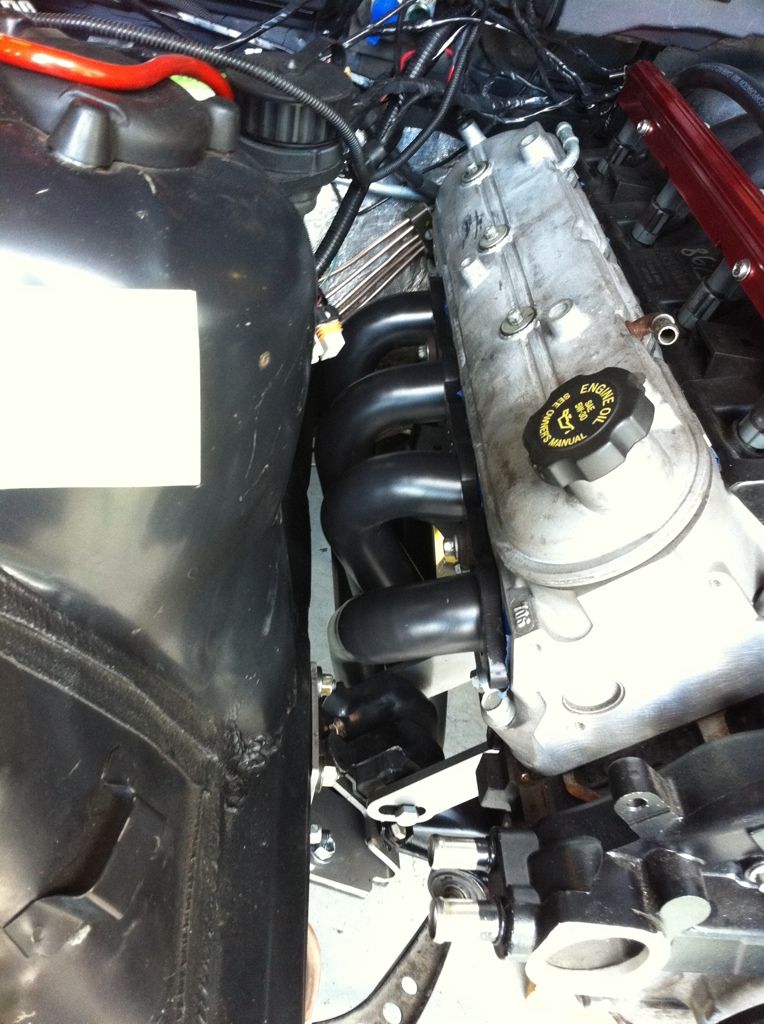
Any how, got the JTR headers back from Finishline Coatings here in Portland, coated in their "Turbo Black". This is the Best thermal coating they offer, claim it is a 60% reduction of heat vs uncoated. They applied 2 coats externally, 1 coat internally. Personally, I really like matte black finish, should contrast nice with the wrinkle black valve covers that will go on after the engine is installed for the last time. 

-
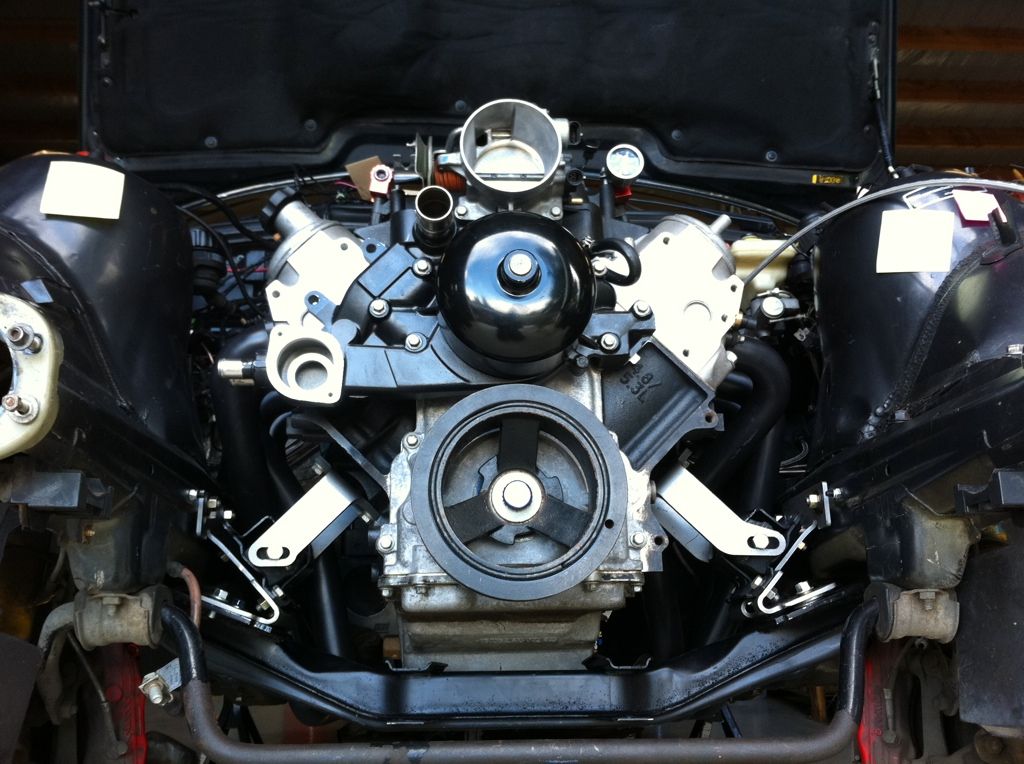
Few more shots of the JTR headers and the JTR LSx E36 engine mounts.

-
Heater hoses are now done, brake booster vacuum line is done, brakes are 100% and bled.
Relocated the heater valve to just under and in front of the brake M/C. I used the BMW mount that was attached to the wall and attached it to the driver fenderwell as high as possible next to the strut tower. Heater supply hose (5/8"hose off the water water pump) routed down and then under the engine above the rack and pinion up to the bottom/middle port of the valve with a 5/8"-3/4" reducer 180 bend. The other 2 lines from the valve are routed to the firewall under the brake M/C. Heater return line is the only hose routed behind intake manifold. I don't know how you other guys are able to get 3 hoses behind there when 1 hose barely fits.
Fired up my DIY brake pressure bleeder with a converted Mercedes reservoir cap, (BMW & Merc caps are the same size and threads), hooked up shop air, regulated down to 7 PSI and pumped just over 2 qts of DOT4 through the system and ABS module purging all the old dark fluid from the car. Hooked up the electric vacuum pump to the brake booster simulating a running engine, pedal feels good. ;-)
The only other item to address while waiting the trans X-member is the PCV plumbing. :-(
Once the trans X-member arrives, tie the headers to the exhaust, detail the shifter and boot, radiator and hoses, and God willing be driving it, soon.
-
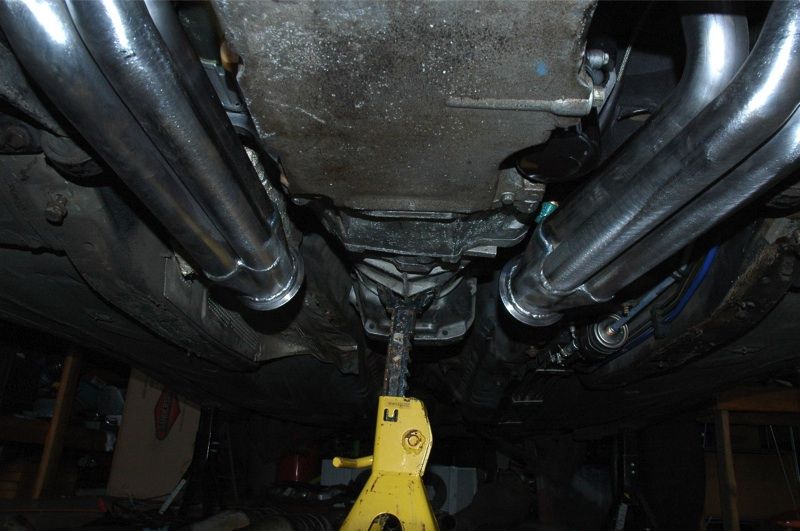
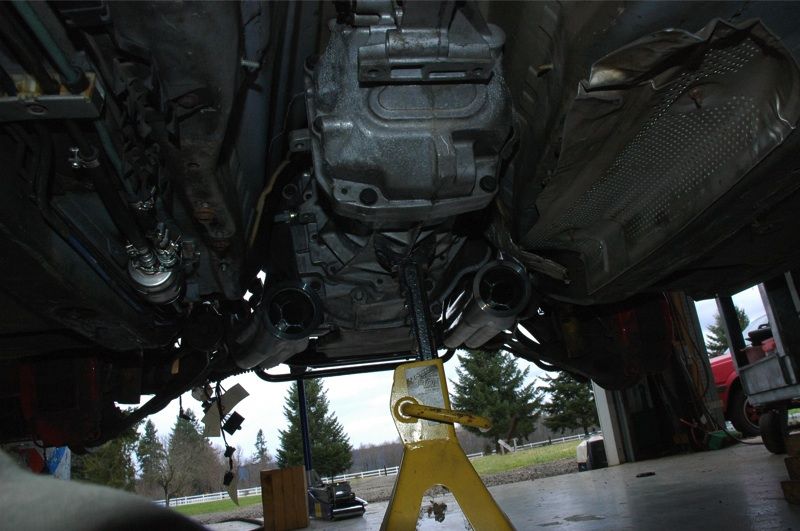
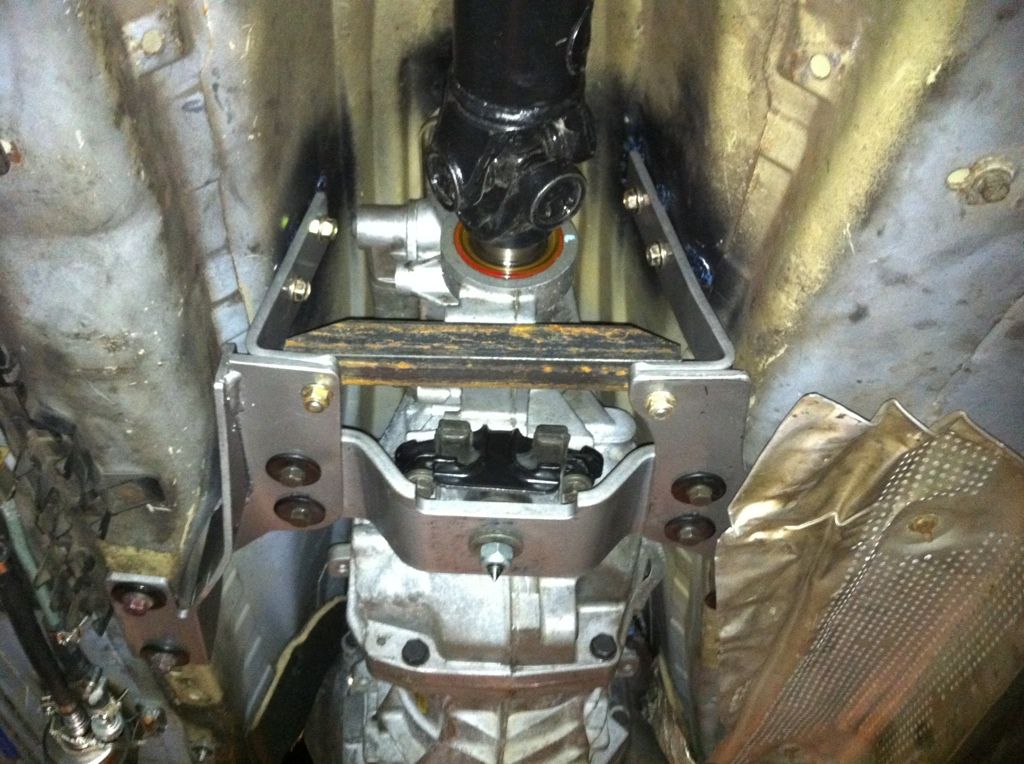
Trans X-member in hand, progress is steadily being made down the home stretch.
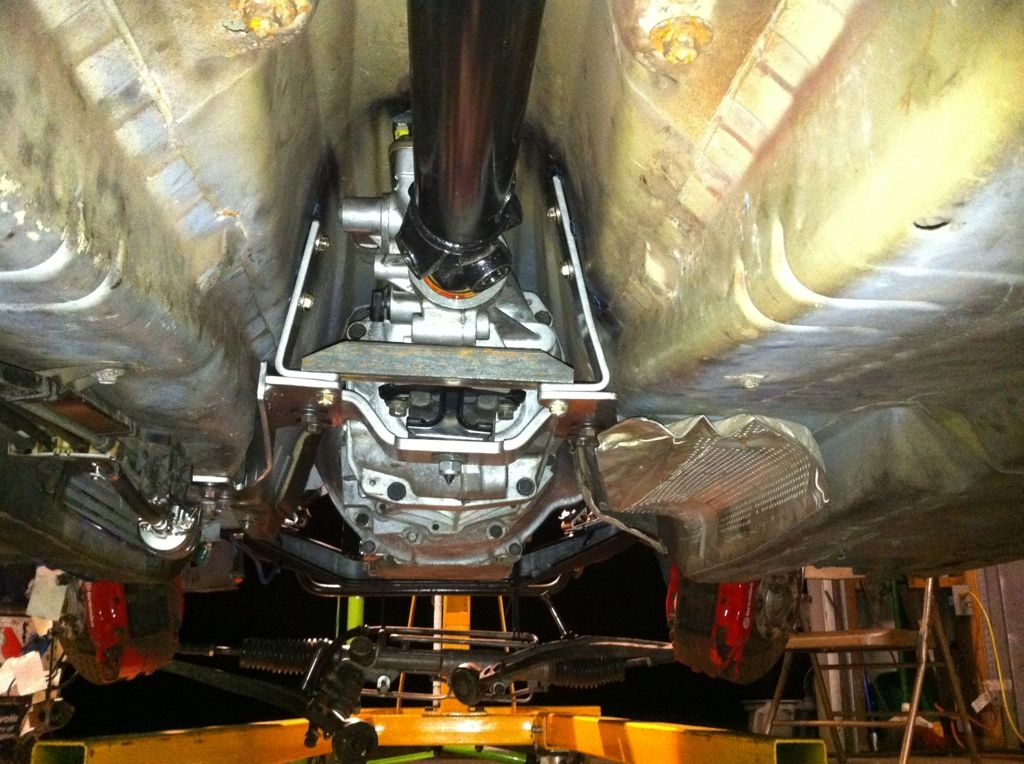
These pics are of the JTR preproduction X-member, production bits may vary slightly when released. A very stout design that utilizes the OE LS1 rubber isolator and maintains lots of room for a tidy tight exhaust system.
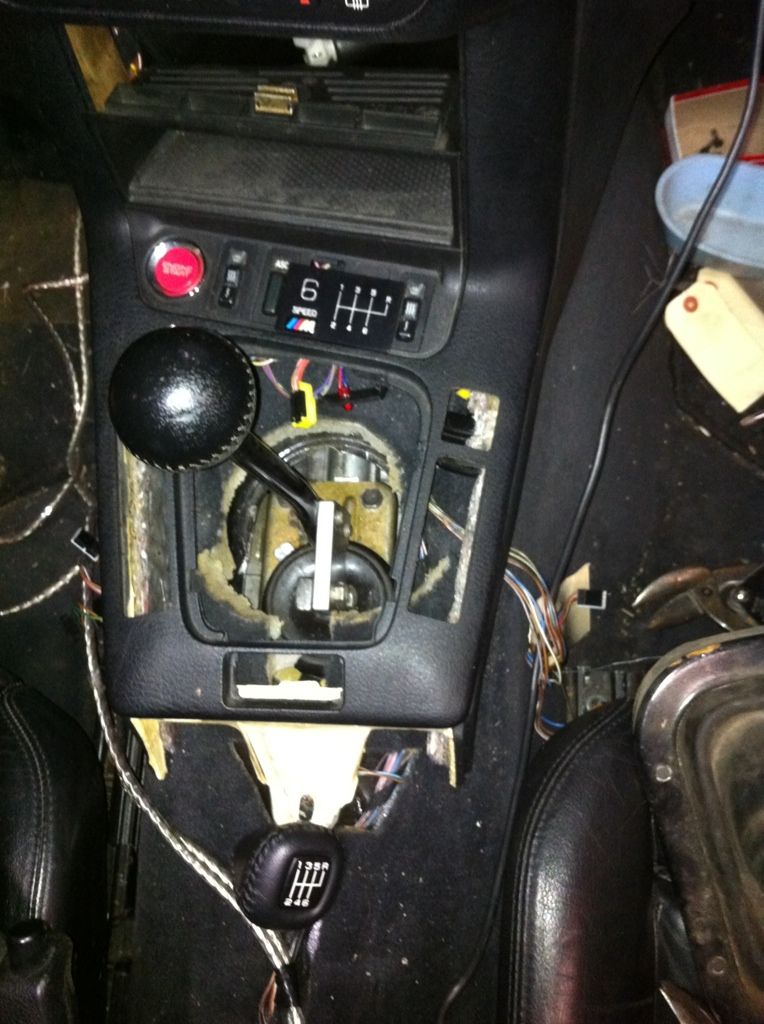
Finished the shifter as well, will work on the body rubber boot tomorrow. Planning to run the Camaro/Firebird ball shift knob for know, will probably modify the Hurst shift arm to accept the smaller ID Vette knob with 6 speed pattern in the future. RTz gave me the 6 speed plaque, hoping to mount/inset it in this location.
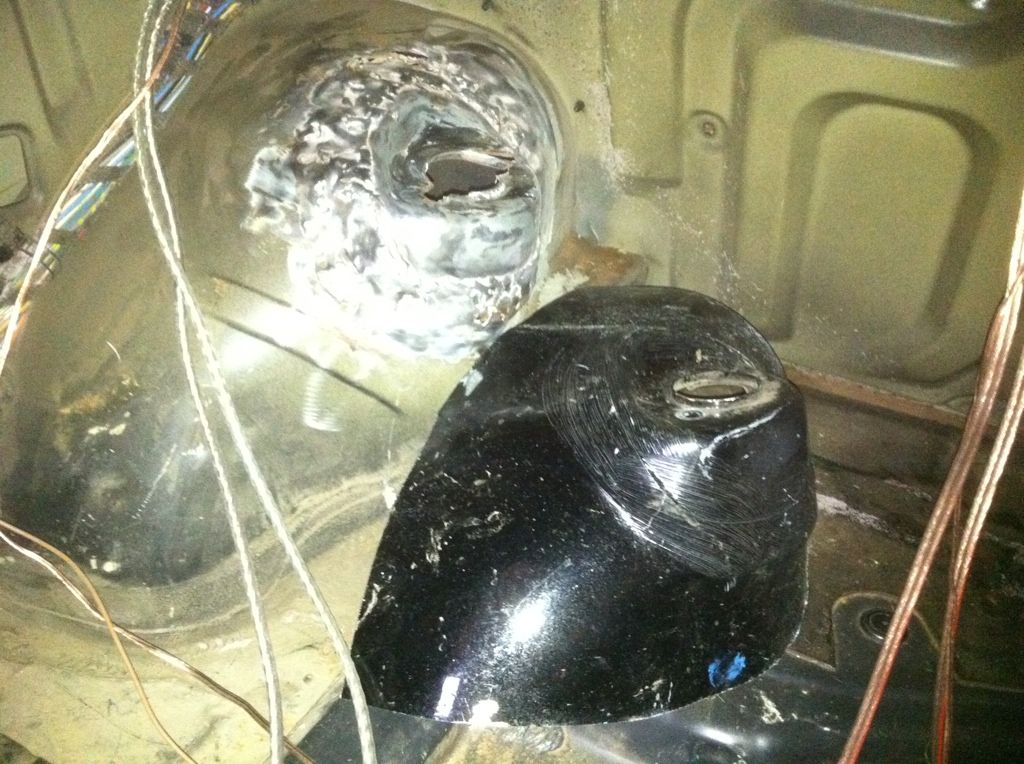
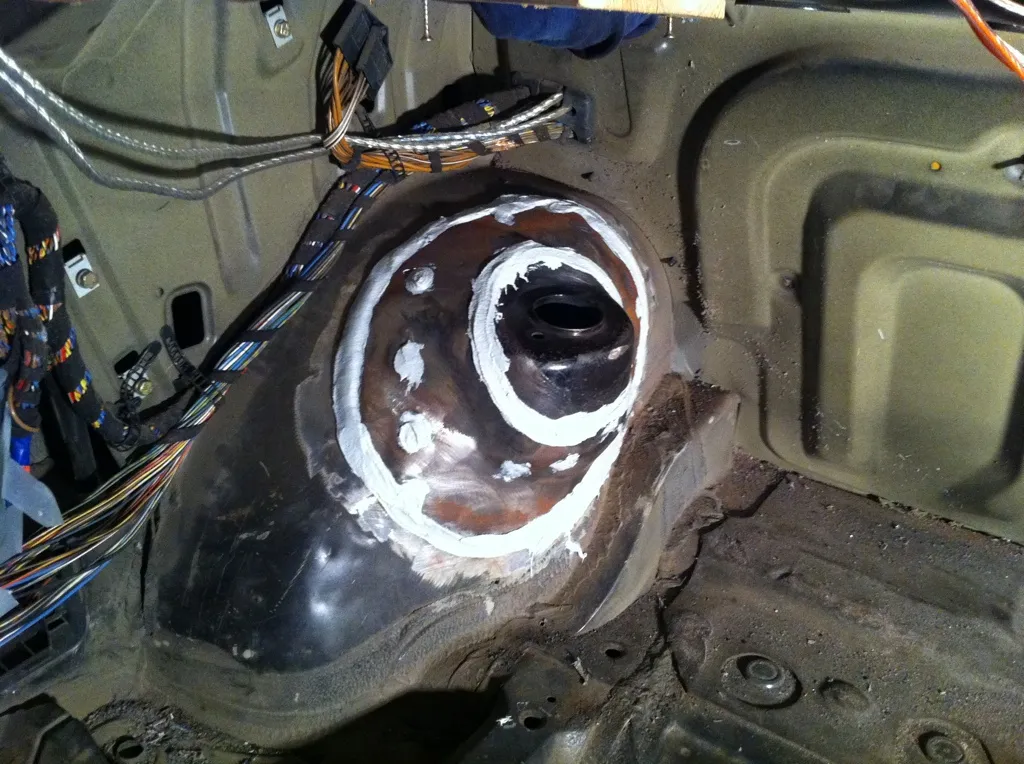
RTz also finished up my ugly rear shock tower mounts as well, something he offered to help with early on, (thank you Ron). I knew my shock tower mounts were needing replacement when I bought the car so bought the new sheetmetal from BMW then. When I dug deeper recently to get started, opened a can of worms. My shock tower mounts had been replaced in the past, hack install, and were now blown out again, due to the hack fix in the past the typical method of drill the spotwelds and replace the Sheetmetal was not an option, not able to use the bits I bought from BMW now needing the fenderwell Sheetmetal as well. Finally an E36 showed up at one of the local Upullit yards, took cordless sawzall and cut out both rear fenderwells.
Pics are before and after of drivers side, passenger side was similar.
-
Reliable source noted my solid shifter linkage would transmit engine buzz/tingle, will be looking to rubber isolate the shifter in the near future to help retain as much of the original BMW smoothness as possible.
Between family activities today, was able to button up the interior 99% today. Just need to adjust the clutch and brake pedal switches engagement/disengagement for the GM cruise control.

Tags on steering wheel are power-train fluids notes/reminders.
-
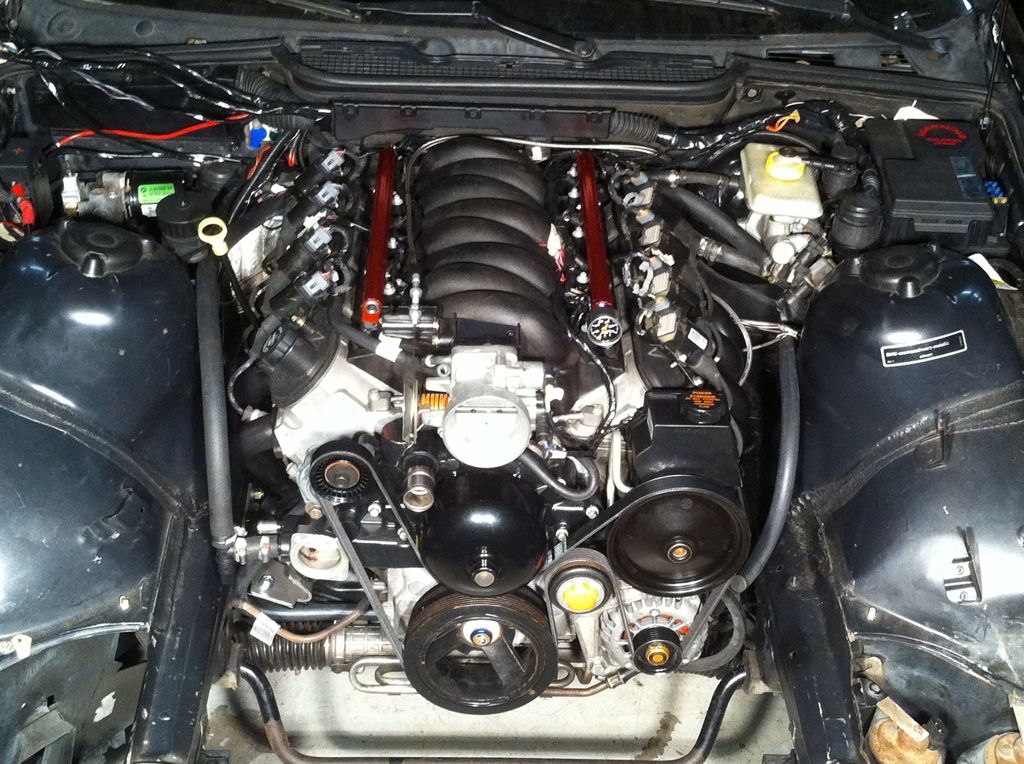
Ancillaries and serpentine installed, Intake is on, clutch hydraulics connected, throttle connected, all EFI connections made. Waiting on the Stage-8 locking header bolts to arrive, hopefully this week.
If all goes well, could pull it out of the shop under it's own power this coming weekend, following week to be shake down for bugs, leaks, etc.
Here's a shot with EFI wiring connected, ancillaries on, throttle connected etc.
-
The mother of all updates for this build.....
It's alive!
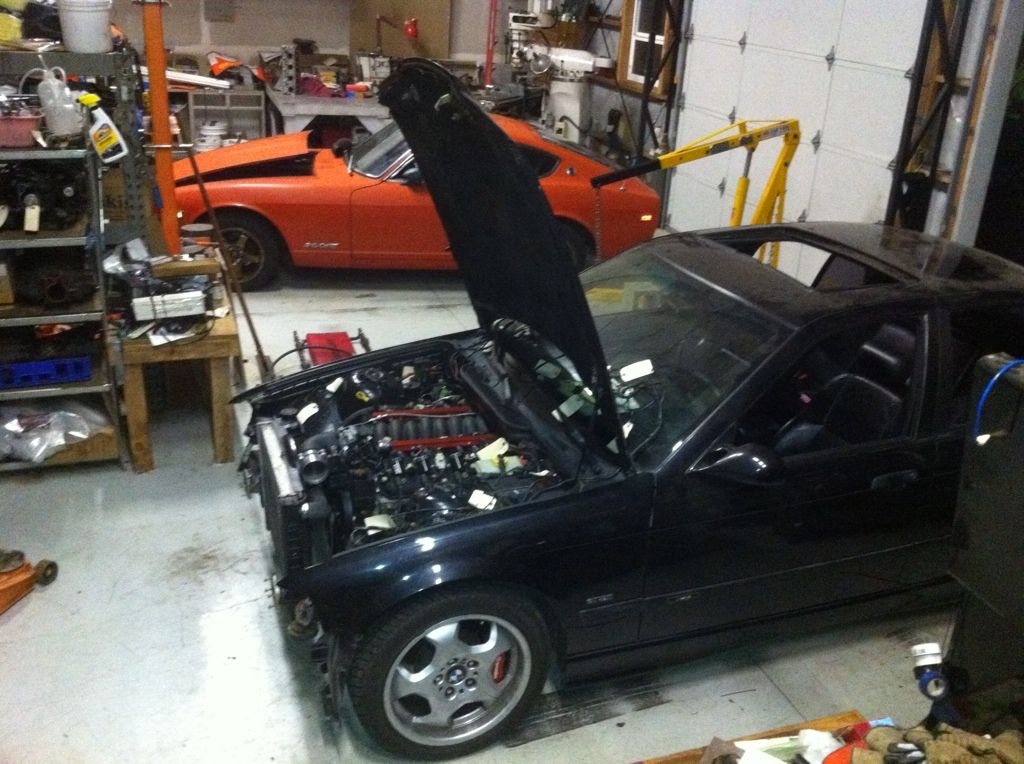
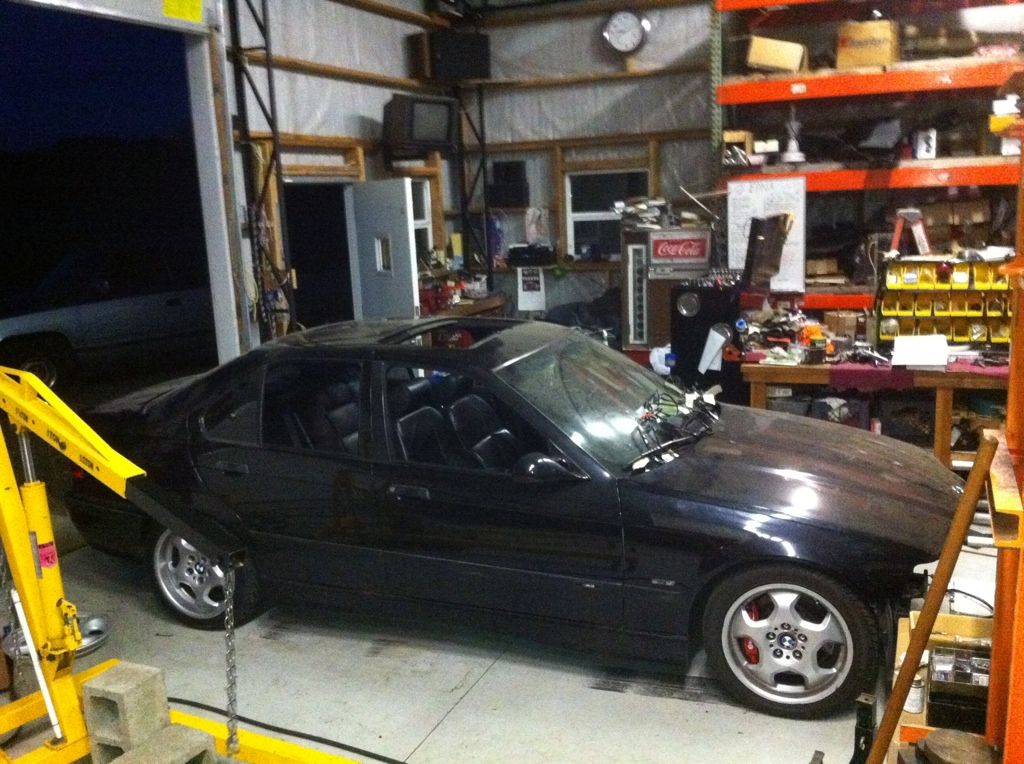
Tuesday night after some fiddling with the PCM, feeling brave I put the wheels on and set it on the ground. First movement under it's own power was the obligatory burnout in the shop, RTz dared me. ;-) Drove it 100 yards down the road and back, WOO HOO! Thursday night, fiddled a little more with HP-Tuners, feeling brave again, drove the car around the lake, 3 mile jaunt. It ran, but not well, flat spots, surging, etc. Within minutes of pulling back in, the shop. Tongboy pulls up with his LS1 M3 sedan for some fine tweaking of a couple parameters in his PCM, he graciously allowed me to use his tune for the "write entire" to delete the DBW programming in my PCM so I didn't have spend two more credits using another tune.
thank you Jeremiah.
Friday morning, performed write entire. TPS now registers in VCM scanner. Engine fired up, another trip around the lake with open headers, stretched it's legs from 1st through 3rd gear, Definitely quicker than it was with the S52, then Drove it 10 miles through down town to the muffler shop with open headers to tie in the M3 exhaust to the headers.
HUGE thank you to Mike of JTR for his patience with all my crying over the past 2 years and for what I feel is a very well engineered, robust LSx E36 kit.
The 260-Z in the background is RTz's with the S52 from my M3, it has been on the road for the past few months and is amazingly fun to drive.

-
WOW just bravo dude. That is such a great writeup and build. Congrats on it!
1951 3100
1984 C10
 Posting Permissions
- You may not post new threads
- You may not post replies
- You may not post attachments
- You may not edit your posts
Forum Rules


 Reply With Quote