+ Reply to Thread
Page 2 of 2 FirstFirst 1 2
Results 11 to 17 of 17

Thread: Another Obs Ls Swap

  1. #11
    Join Date
    Mar 2011
    Location
    Hamilton, Ontario
    Posts
    72
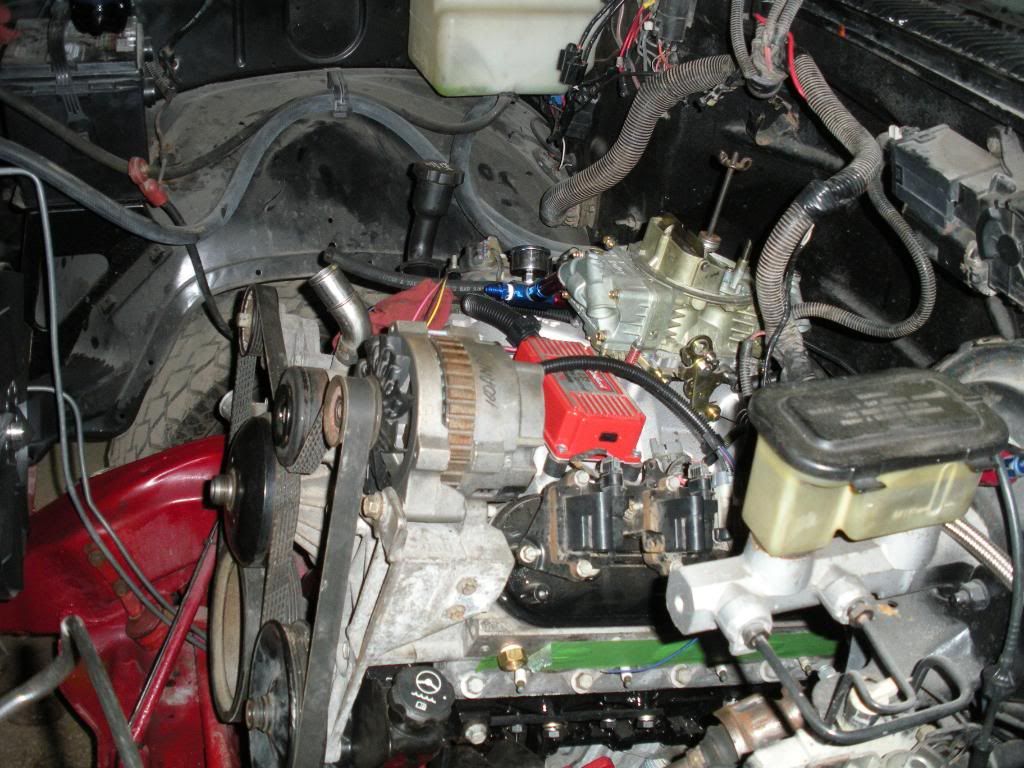
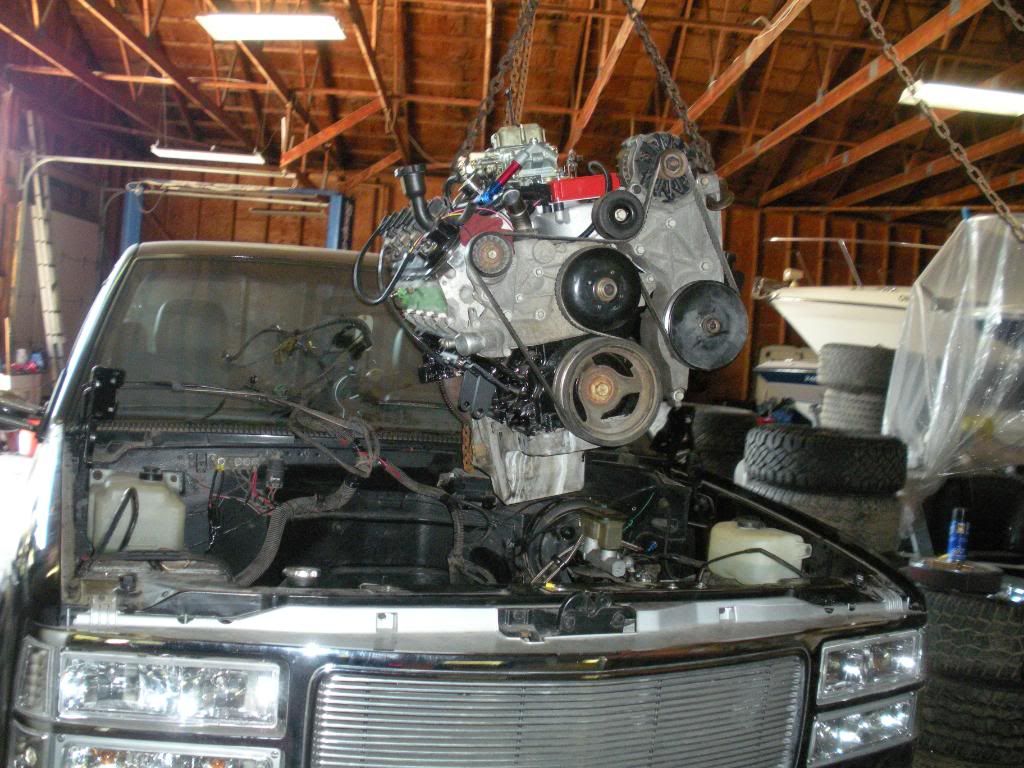
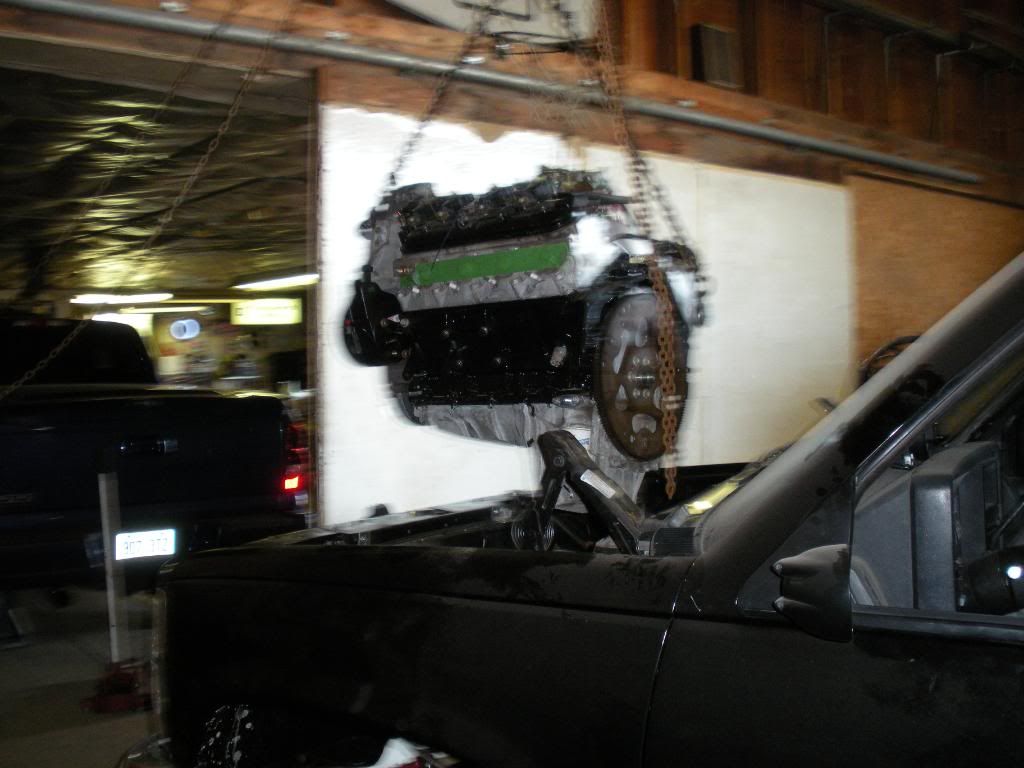
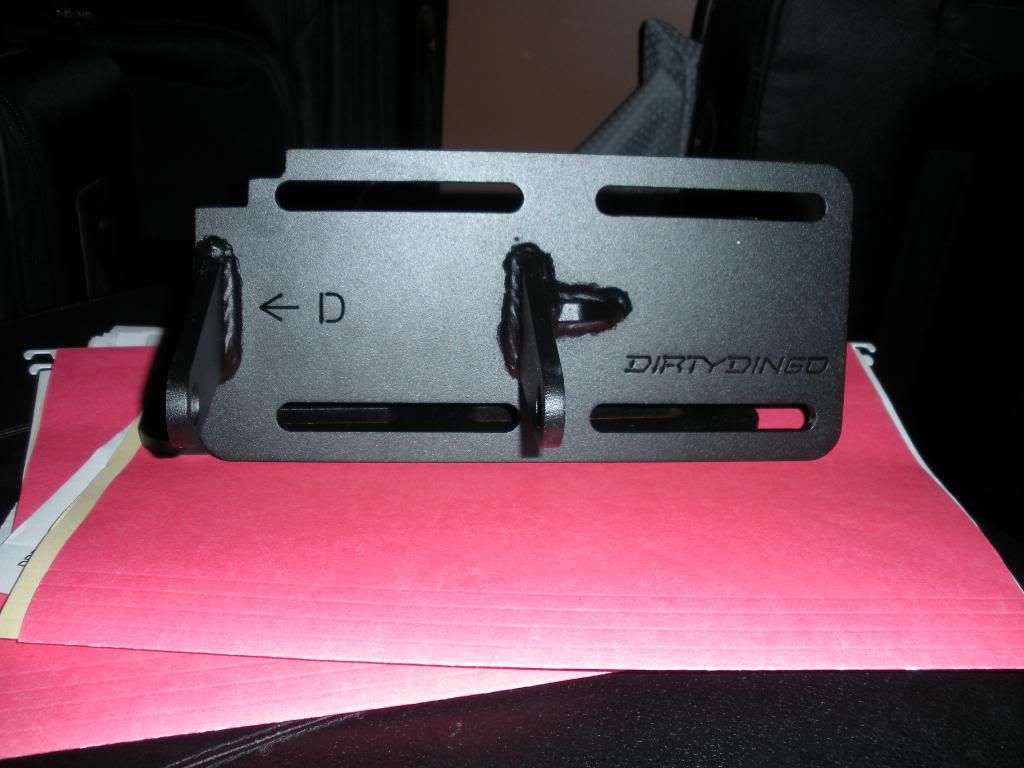
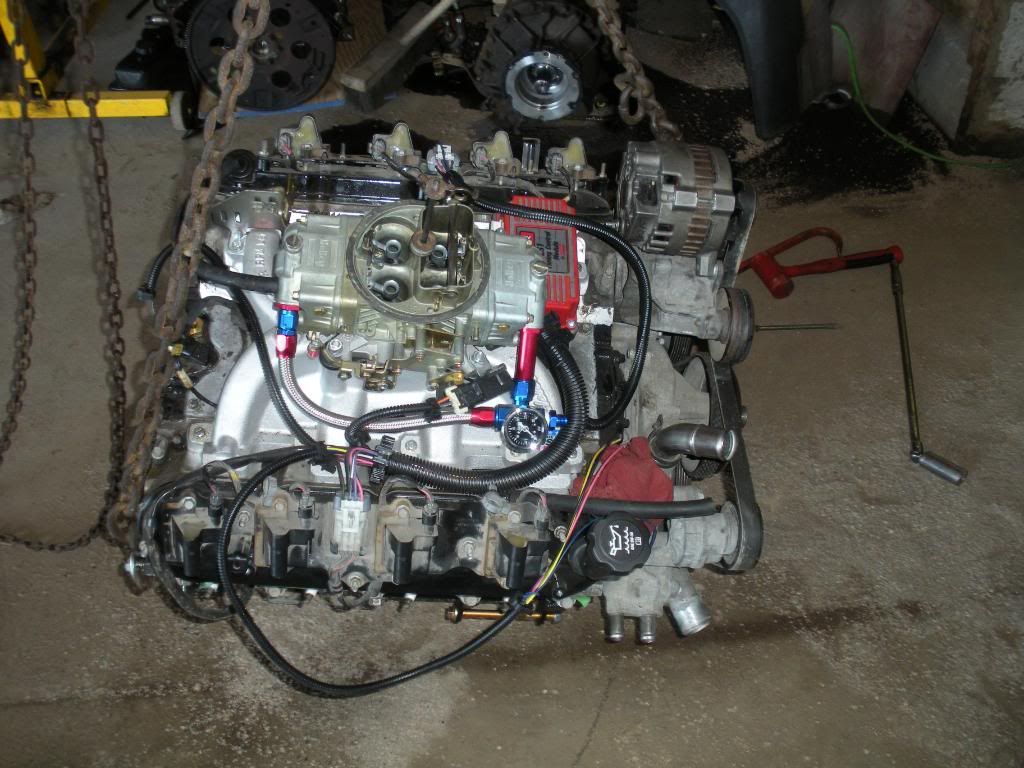
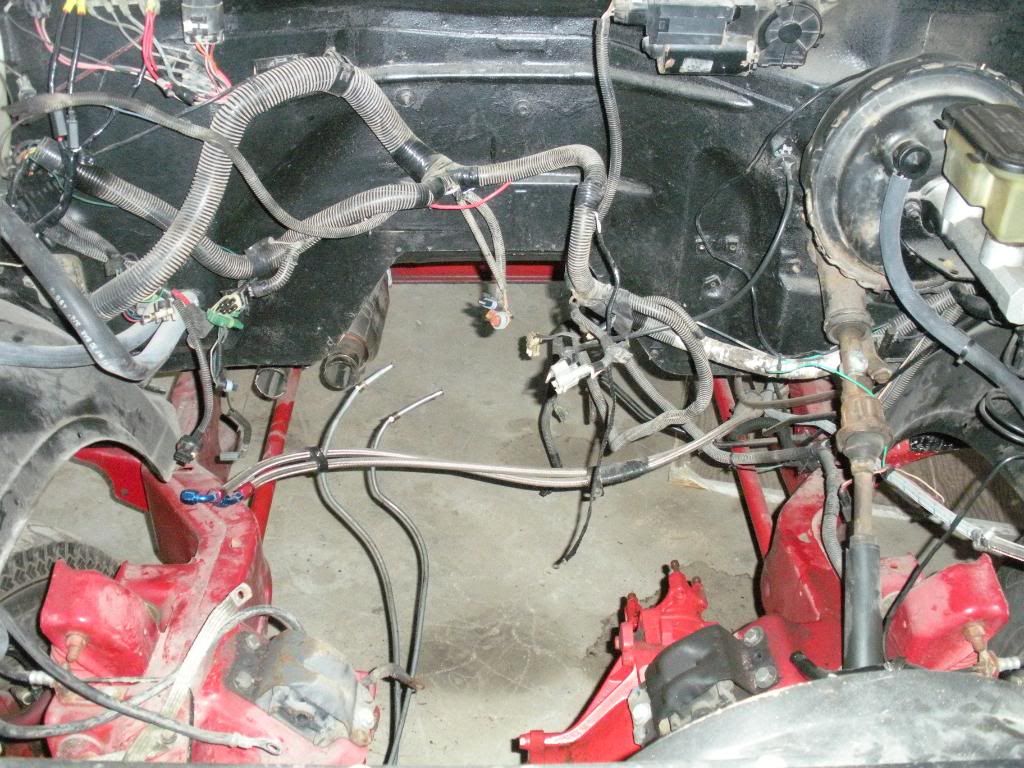
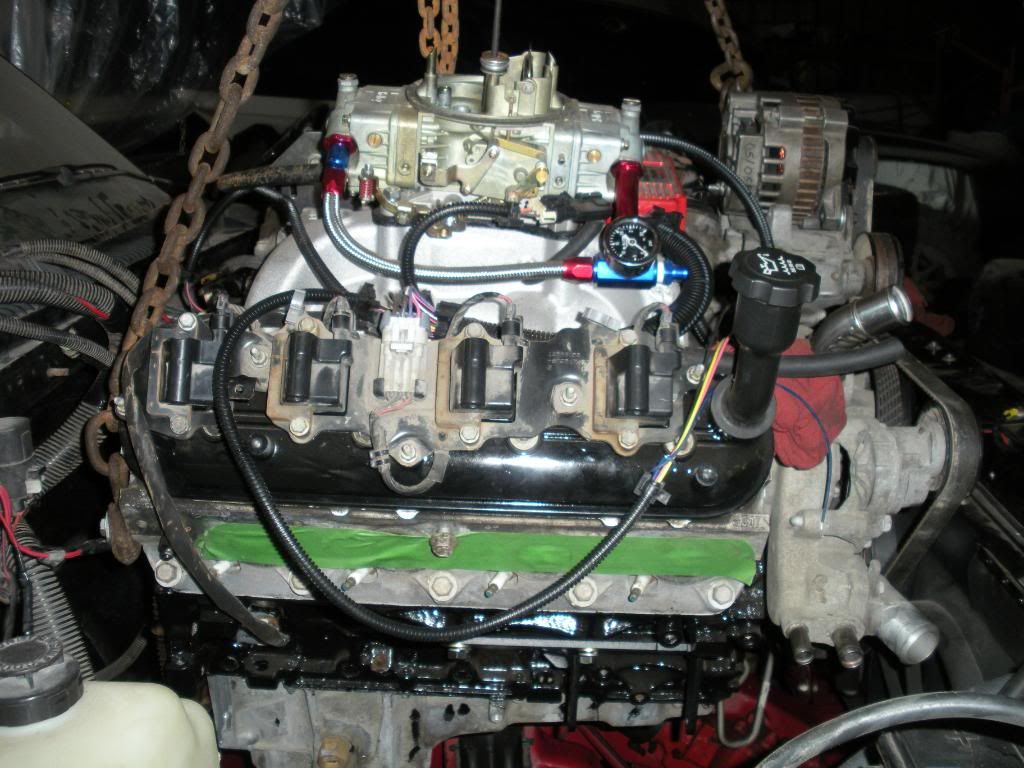
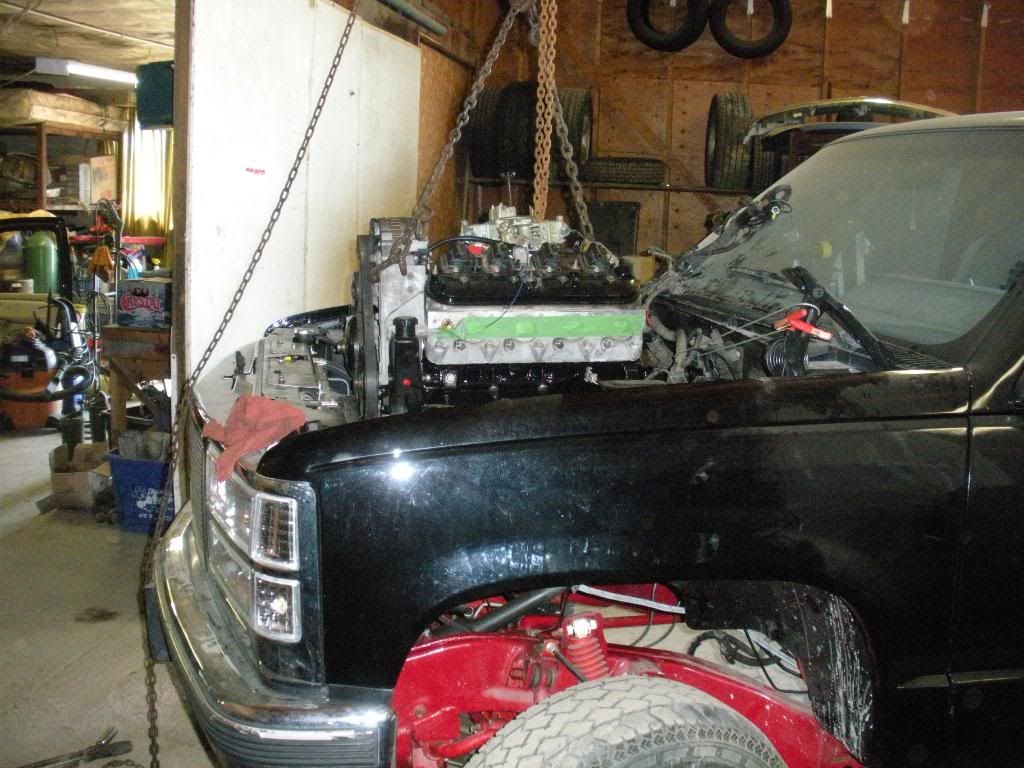
    so last night i finially got a little bit of time to work on my truck. i got to pulling the old transdapt mounts and switched them out for the dirty dingos. i must say those mounts are really nice to work with especialy with new hardware. i ended up pulling the flywheel of the 6.0l and the flywheel from my old tbi motor. i lined up the converter to the 6.0l flywheel and the openings were a little of. so i rotated the flywheel 45degrees and re drilled the holes to 9/16 to match the 700 torque convertor. i bolted the flywheel back on and installed the hughes performance crank spacer. next step was to obvioulsy pull the truck up and throw the motor in. so i figure most guys aren't interested in doing the reading so here are some pictures. although i do have one question for you guys that have used the dirty dingo mounts did you place your tranny and crossmember in and pull the motor back to line it up or did you push the motor forward hook the tranny up to the motor and full the cross member and tranny back as one piece then torque the motor mounts down?


  2. #12
    Join Date
    Jun 2009
    Location
    Caledonia, MI
    Posts
    322
    I had my motor as far forward as possible so it was easy to set in, and easy to hook the tranny to it. Then once I had the 2 connected i used 2 ratchet straps tied to the motor to suck it back so the tranny would line up with the holes. Then just tightened the motor mounts down
    Silverado Z71 10" Lift COMPLETE 6.0/4L80E PRC 2.5 Ported LS6 Heads 228r Comp Cam 3200 CIRCLE D Stall LS7 Lifters ARP Bolts SLP Oil Pump and Double Timing Chain 160 T-Stat 3" SLP Loudmouth Electric Cutout Walbro 255 Pacesetter Longtubes MSD Starter NELSON Harmess NELSON Street/Strip Tuned ECM MSD Wires LS1 Throttle Body Braided Lines Spectre CAI 4.56 Gears Detroit Locker 14 bolt http://www.ls1truck.com/forums/lsx-t...wap-build.html

  3. #13
    Join Date
    Mar 2011
    Location
    Hamilton, Ontario
    Posts
    72
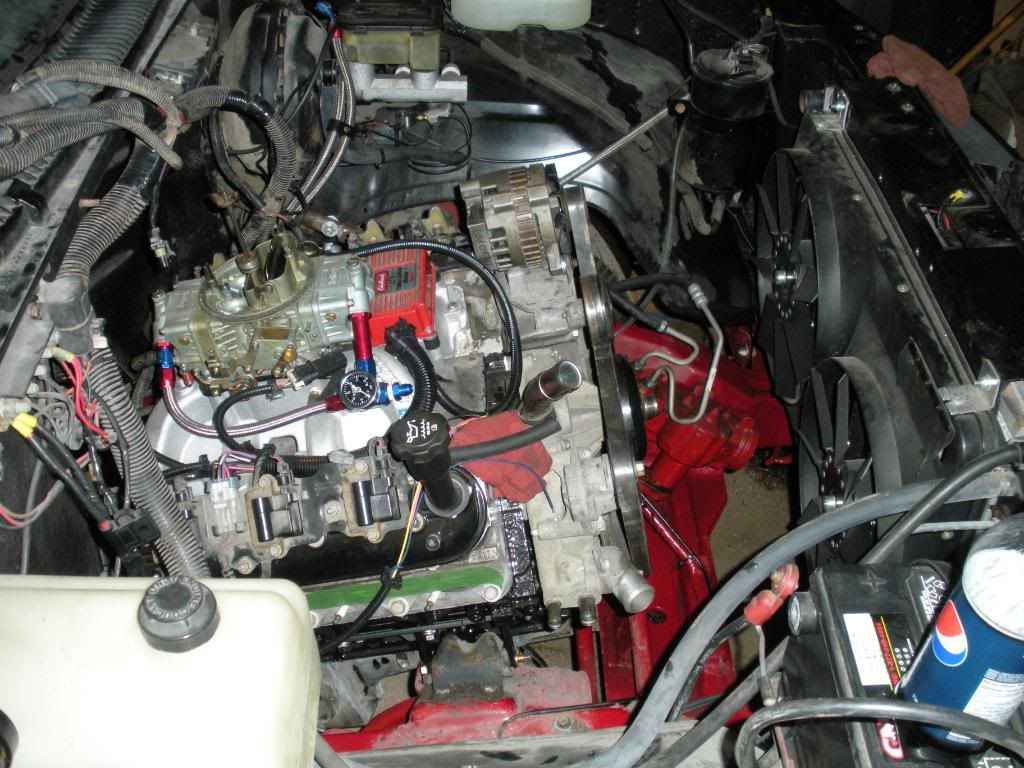
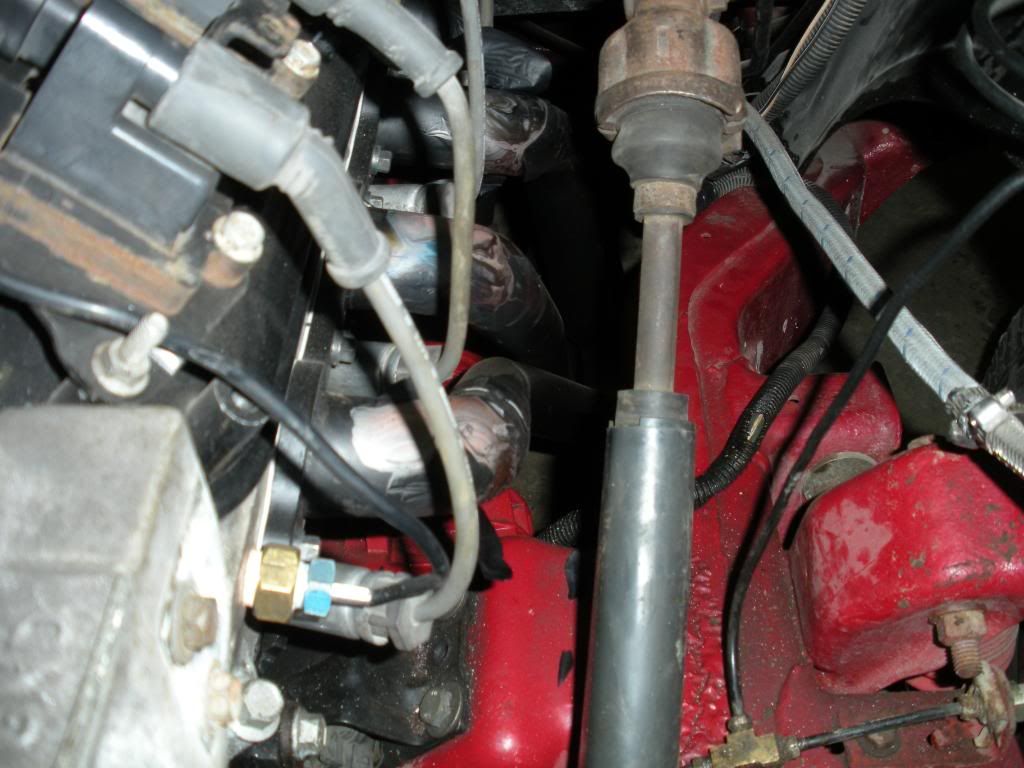
    thanks for the advise i will give that a try when i go to work on the truck. i ended up having to drill and tap the holes bigger in the heads. one for my mechanical temp gauge and the second was for my electric fan temp switch. how bad of an idea is it to plug the steam ports. i ended up breaking the one arm off on the front that usualy runs to the tb. so there was another motor out there that had the individual blocks so i capped them off for the time being so i could get it running till i could find a replacement. i also decided to use my original tbi motor alternator. since it was rebuilt and beefed up to 160amps also i would not have to change any of the wiring and i already had to but a resistor in for the system to charge. the only issue was with the left side mount off the alternator i had to make a .200 shim to make it sit parallel with the other side which bolted in directly.

  4. #14
    Join Date
    Mar 2011
    Location
    Hamilton, Ontario
    Posts
    72
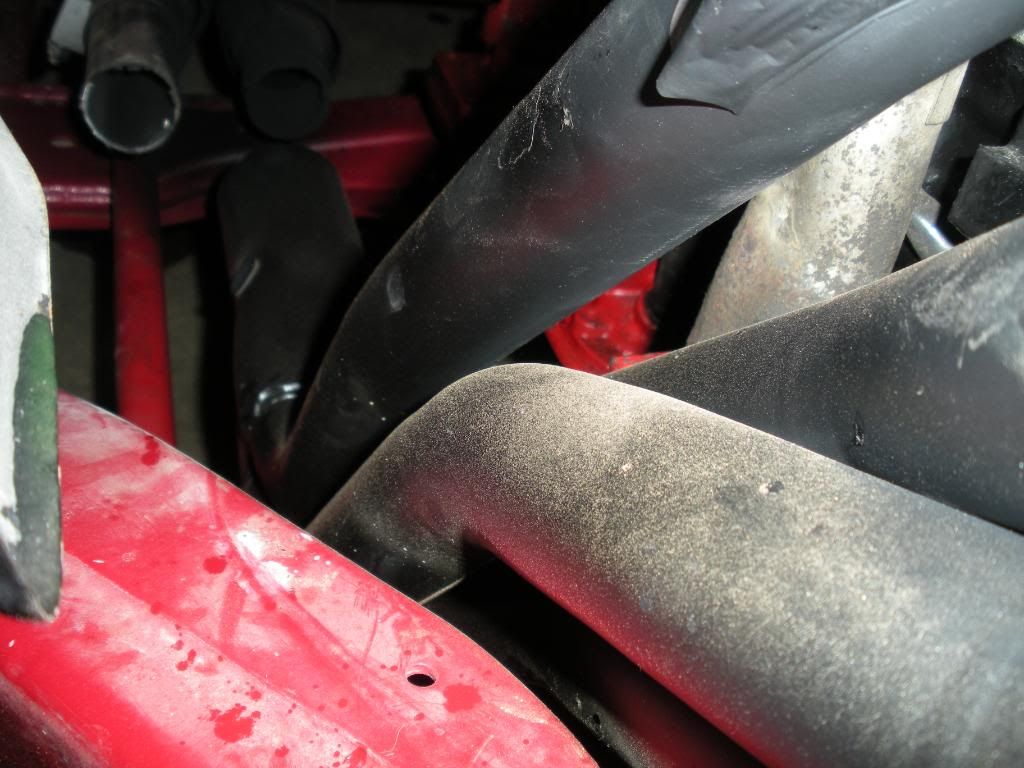
    a little update. i have mounted the transmission to the motor bolted in the crossmember and bolted the transfer case up to the transmission. put the pacesetter long tubes on (70-2265). there are 2 slight issues. the first is they just barely touch the drivers side frame rail and 2 using the 700r4 transmission it just slighty touchs one of the ears on the casing. but would be fine if you use a new 4l60e. all fluids have been filled except for coolant. i am still deciding where to mount the fuel pressure regulator. the only thing beside coolant and fuel left to do is hook up the power and ground for the msd box then i should have a video of open headers for you guys

  5. #15
    Join Date
    Jan 2008
    Posts
    8,031
    Going to be fun once done

  6. #16
    Join Date
    Sep 2007
    Location
    Ottawa, ON
    Posts
    911
    Looks good bud let us know how it runs!
    2000 Chevy Silverado RCSB LS6 5 speed, LS6 short block, 317 heads, LS6 intake, Lunati 220/224 .575/.575 112LSA cam, Edelbrock Headers, CTS-V accessory drive, Nelson Performance Custom Tune.

  7. #17
    Join Date
    Mar 2011
    Location
    Hamilton, Ontario
    Posts
    72
    not sure where i left off. so the motor is in. all the drive line is in (transmission/transfer case/ drive shafts). i have mounted the fuel pressure regulator to the fire wall since i had the braided stainless lines there for the tbi set up and thats where there was enough room to mount regulator with out modifying my lines. i powered up the msd box for carb setup. just needs a ground and 12v acessory power wire and one wire that powers the tach. then just a couple plugs for a map sensor. crank sensor and cam sensor. the final wire is for ac which the truck does not have so i didnt have to worry about that one. next step was to put on the pace setter headers. they fit relatively well. there was only 2 issues with these headers for me. the first was with running the 700r4 the one header just slightly rubs the transmission housing where the bottom dust cover bolts to. i just used a sawzaw to trim that back a 1/4" the second issue was on the drivers side frame rail the one tube for the header rubs the frame. when the truck goes in to have the exhaust joined the guy is going to heat the tube up a little bit and bend it over for me. so now that everything was hooked up. it was time to start it. i go to turn the key and no fuel pressure. it turns out since i was running the factory fuel pump to supply the pressure regulator. that my original computer needs to see oil pressure to send power to the fuel pump. good thing i didnt cut out any of the original harness. i had to build a t out of aluminum so i could run an original sensor and one for my mechanical gauge. it fired up right away. ill post a couple pics of the headers and second start video its kind of short and needs some serious carb adjustmest but man does it sound mean and got power compaired to that wimpy 5.7


    http://youtu.be/eW55XQiZai8
    Last edited by 89sierra; 04-27-2012 at 05:19 PM.

+ Reply to Thread

Posting Permissions

  • You may not post new threads
  • You may not post replies
  • You may not post attachments
  • You may not edit your posts